


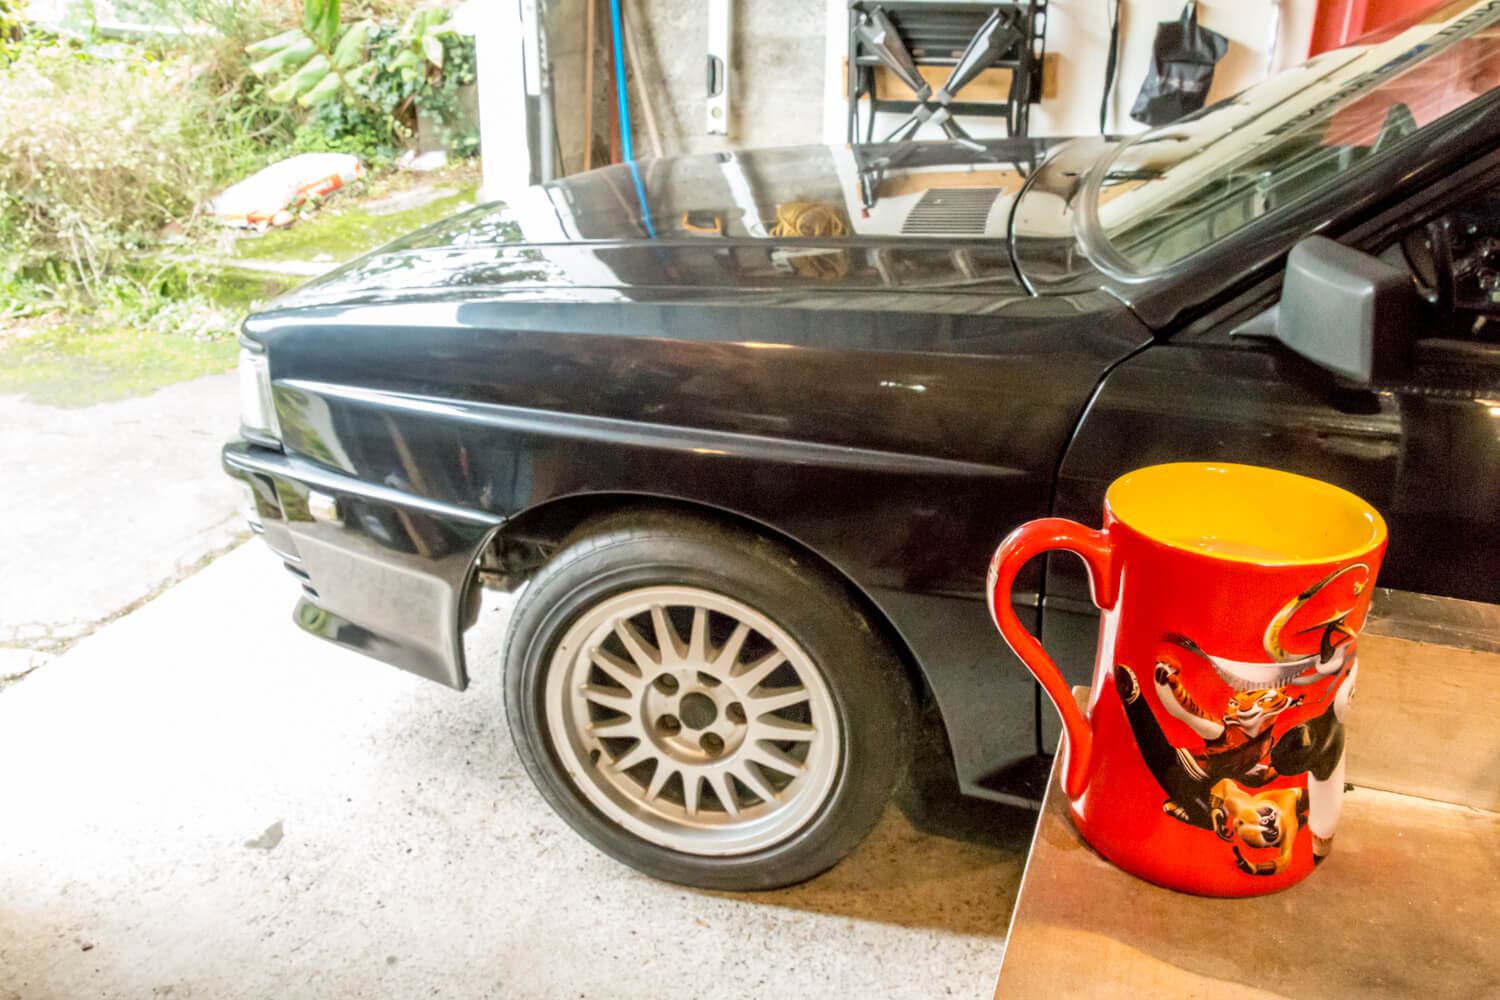
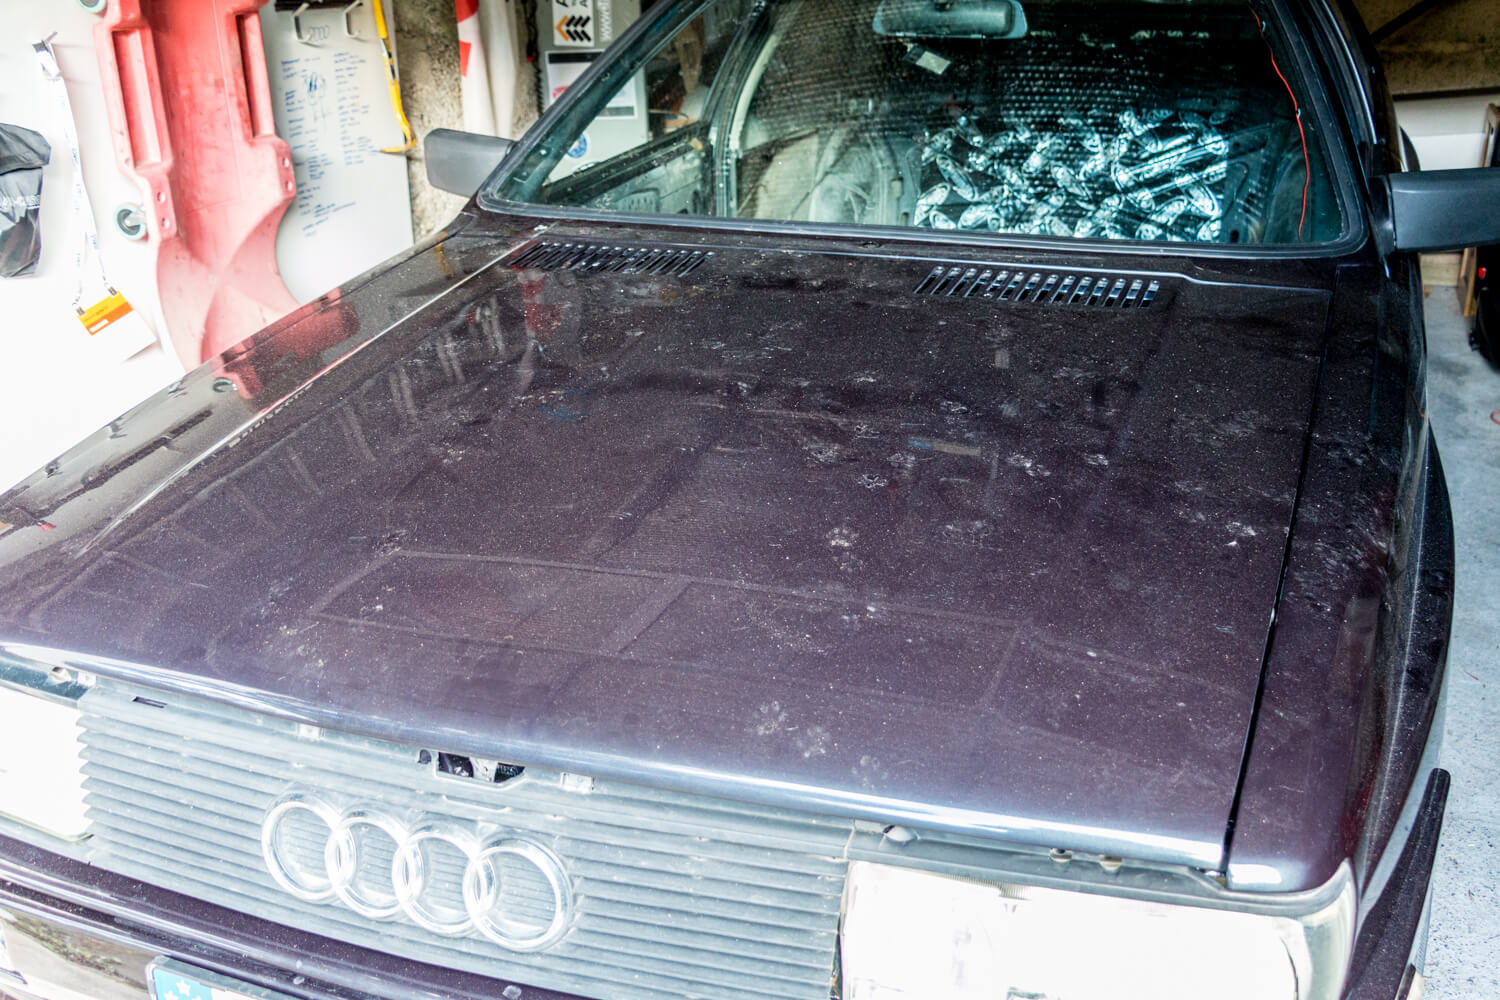
The first time I laid eyes on my quattro was on the way up to Speedshow 2015. You can see from this photo that it had already grabbed me.

So a year later, the rust is gone, the paint is done, the original budget estimate has been left far behind, and I’m slowly re-assembling the car.
All jobs start with a cup of tea.
I tidied up the wiring around the steering column, removing a bit more old alarm wiring.
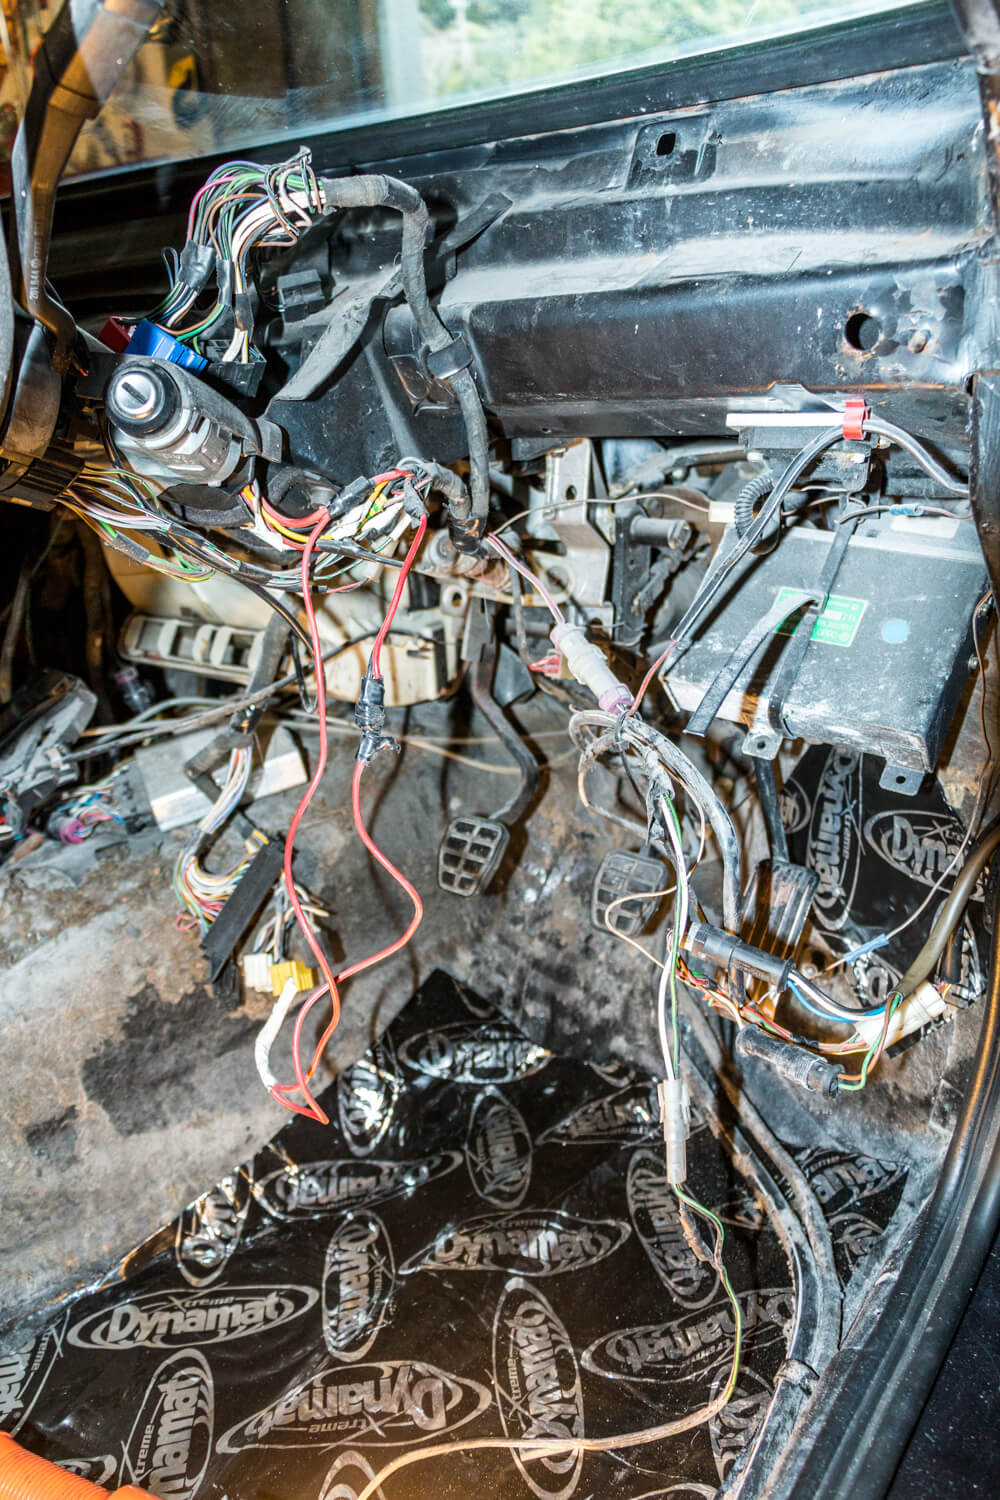
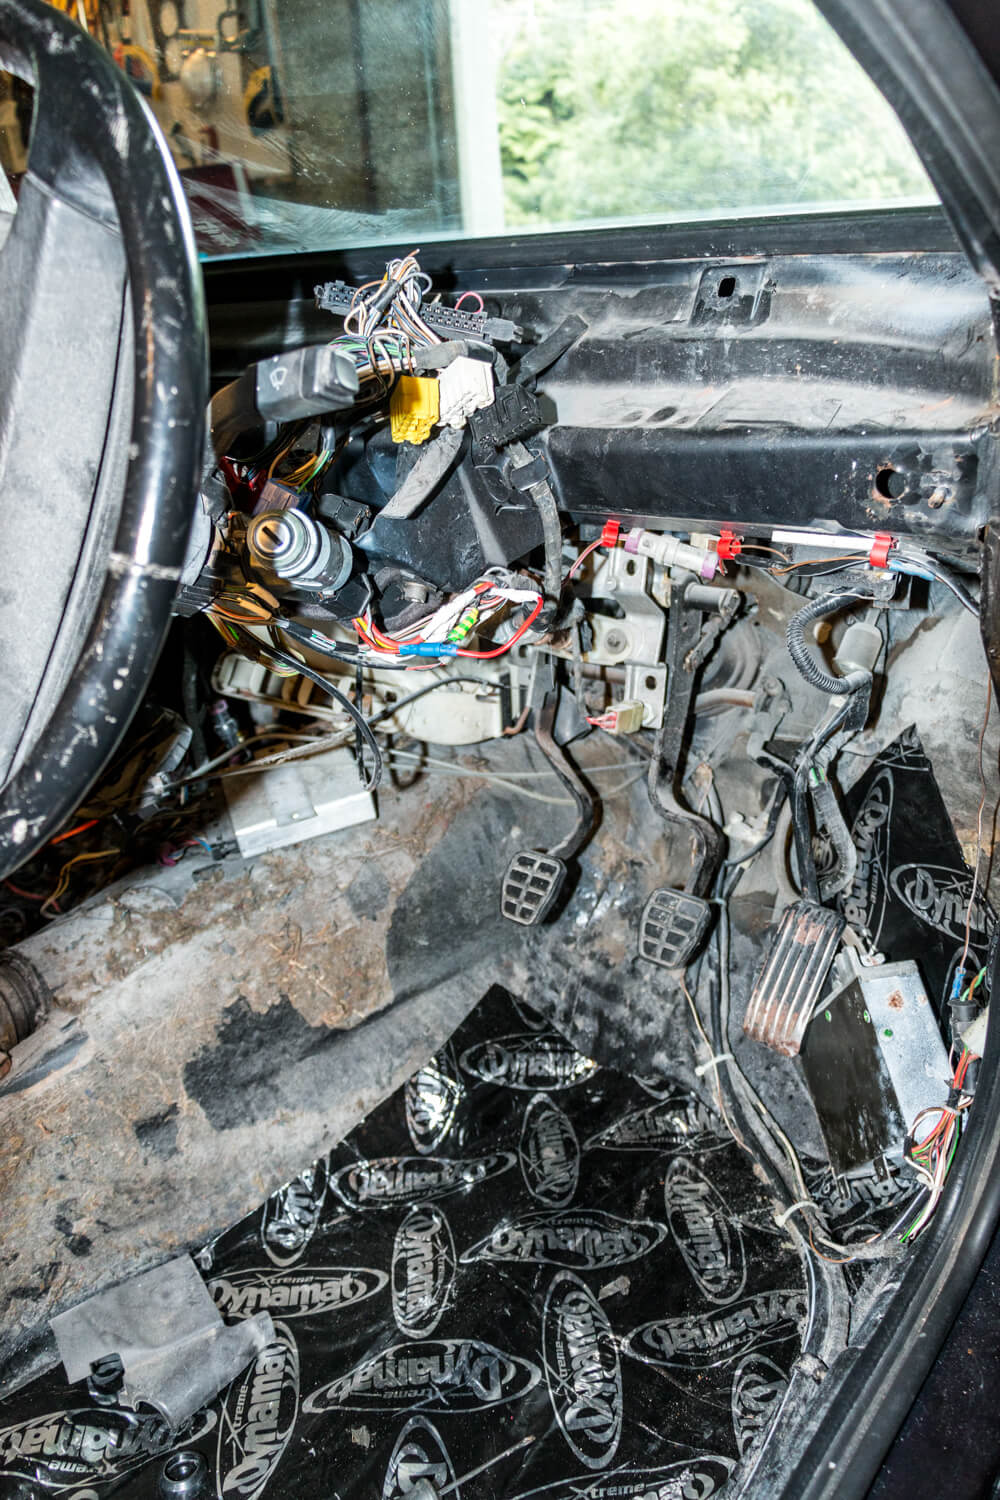
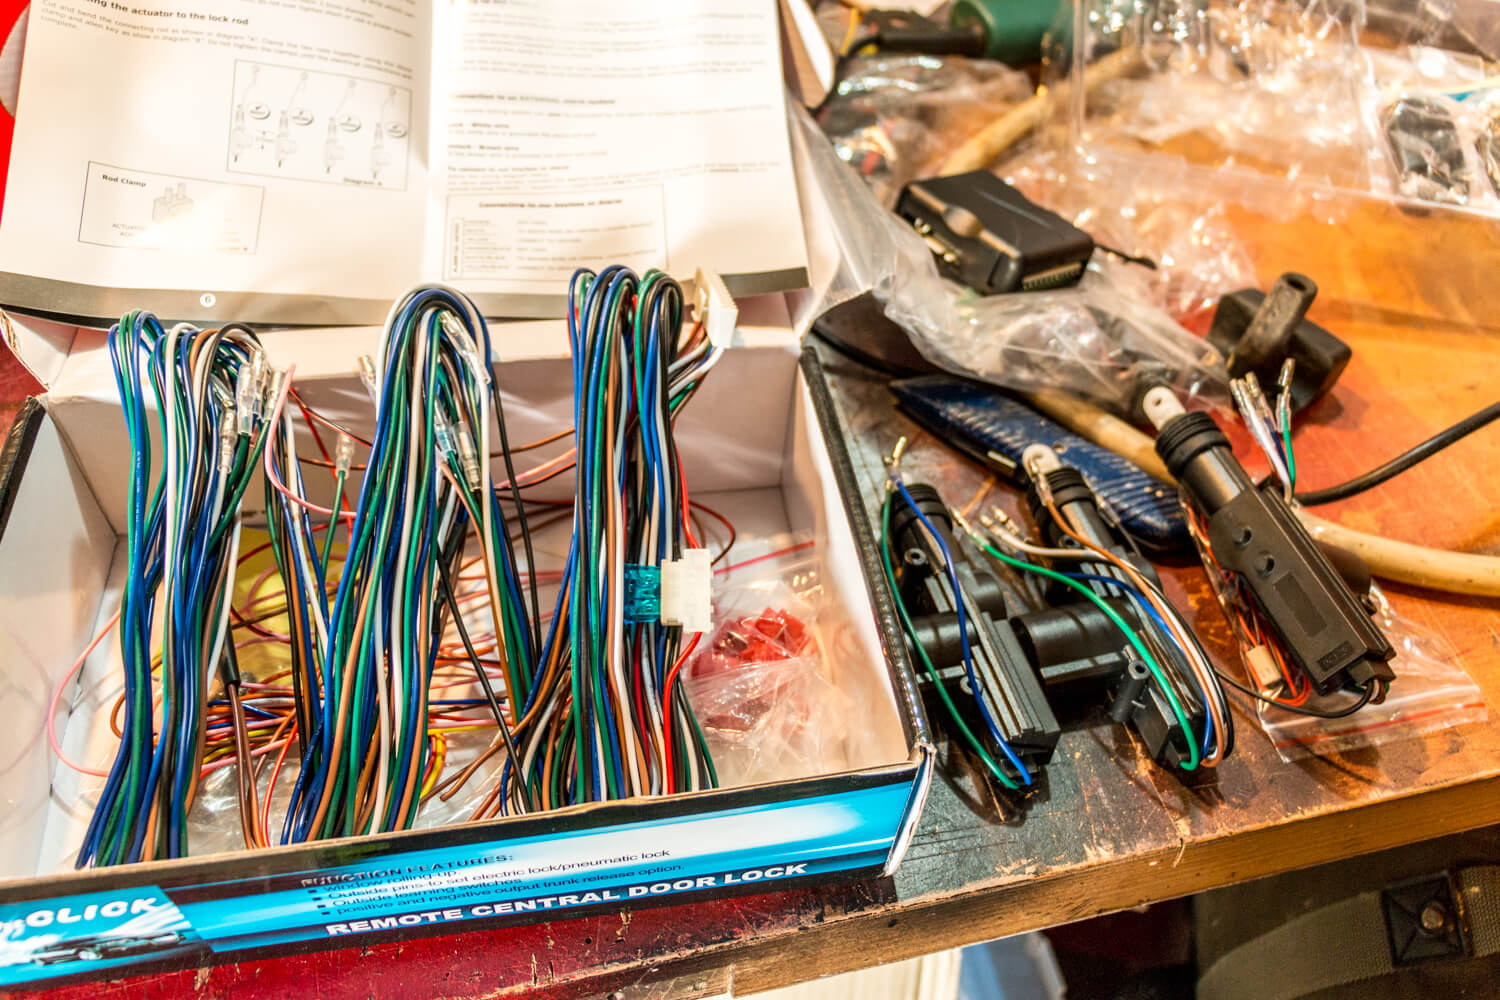
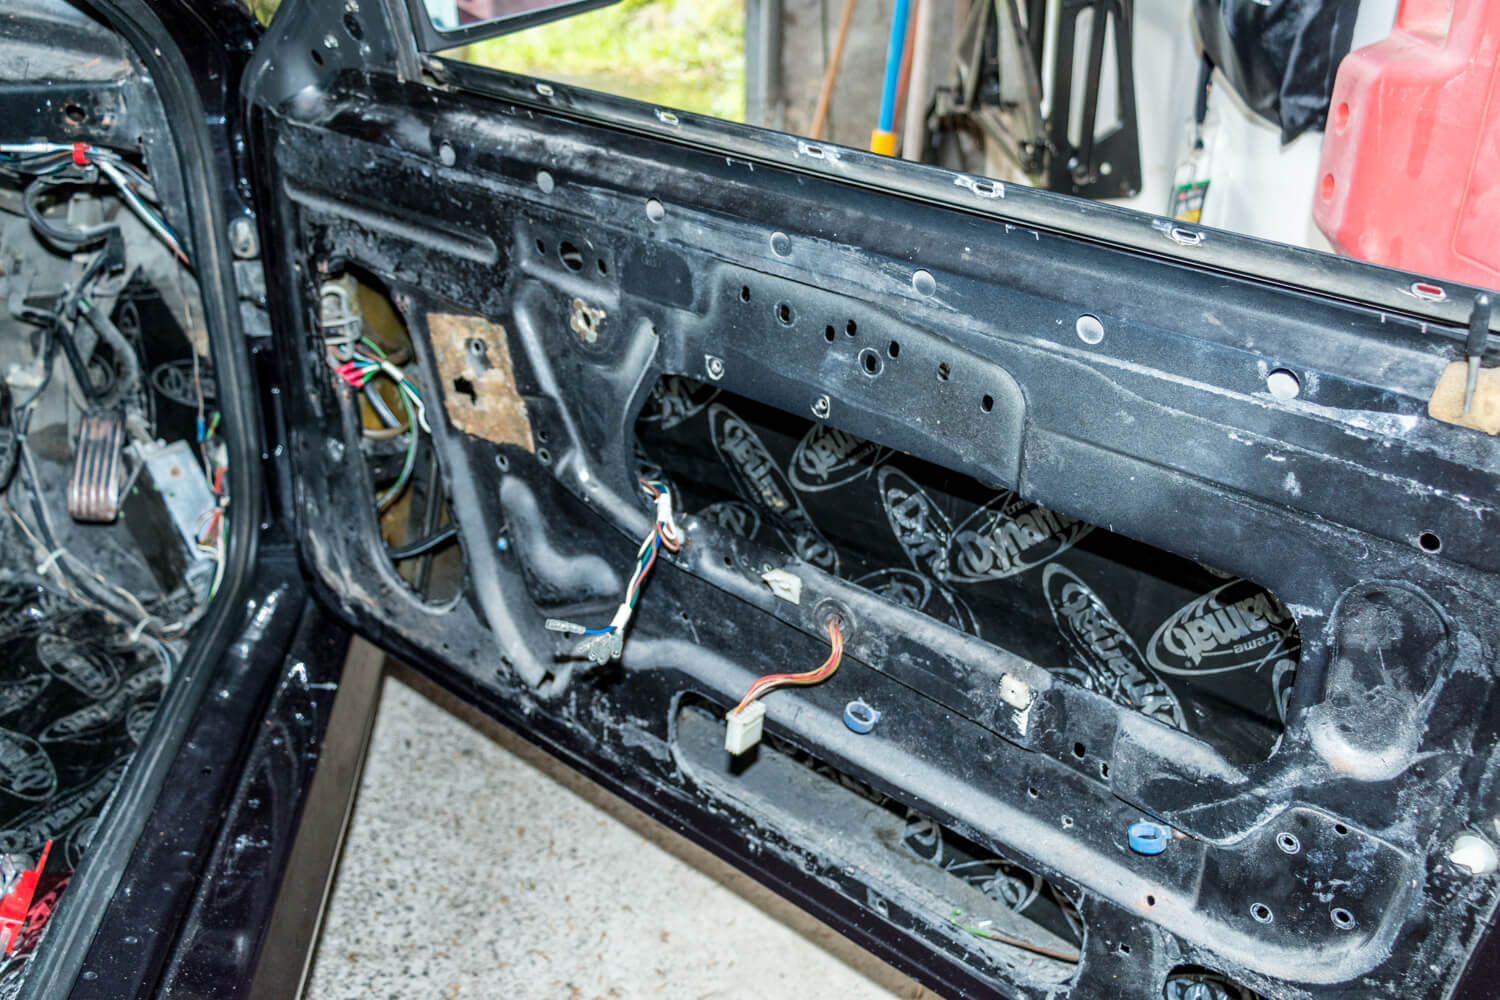
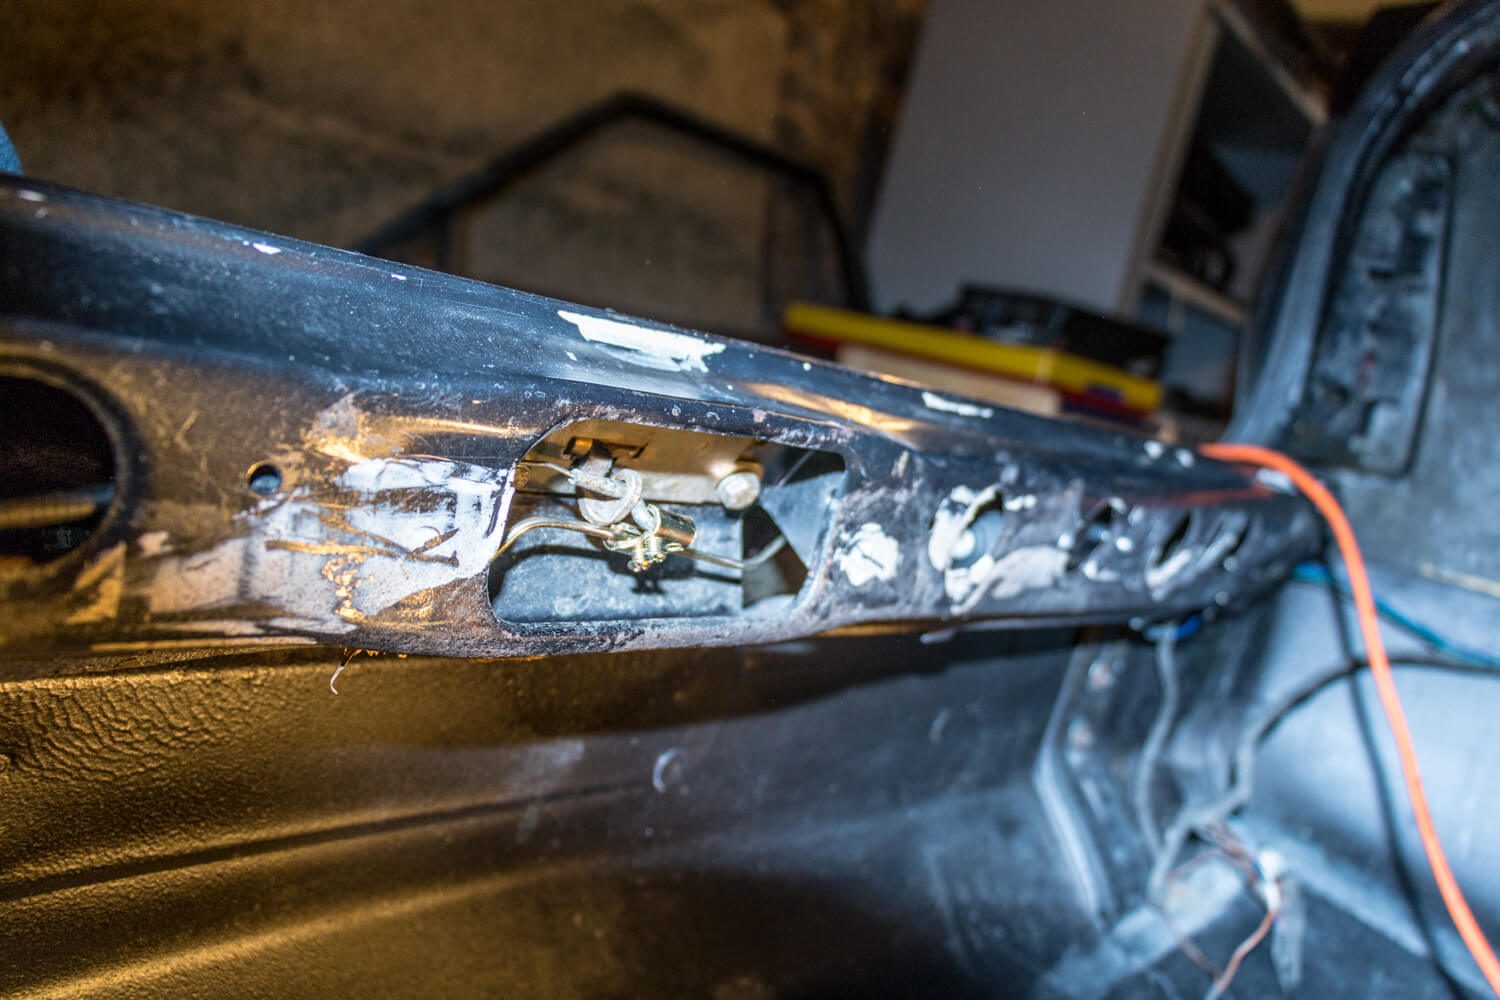
Next I started on the new wiring for the alarm and got the actuators in the doors, and in the boot.
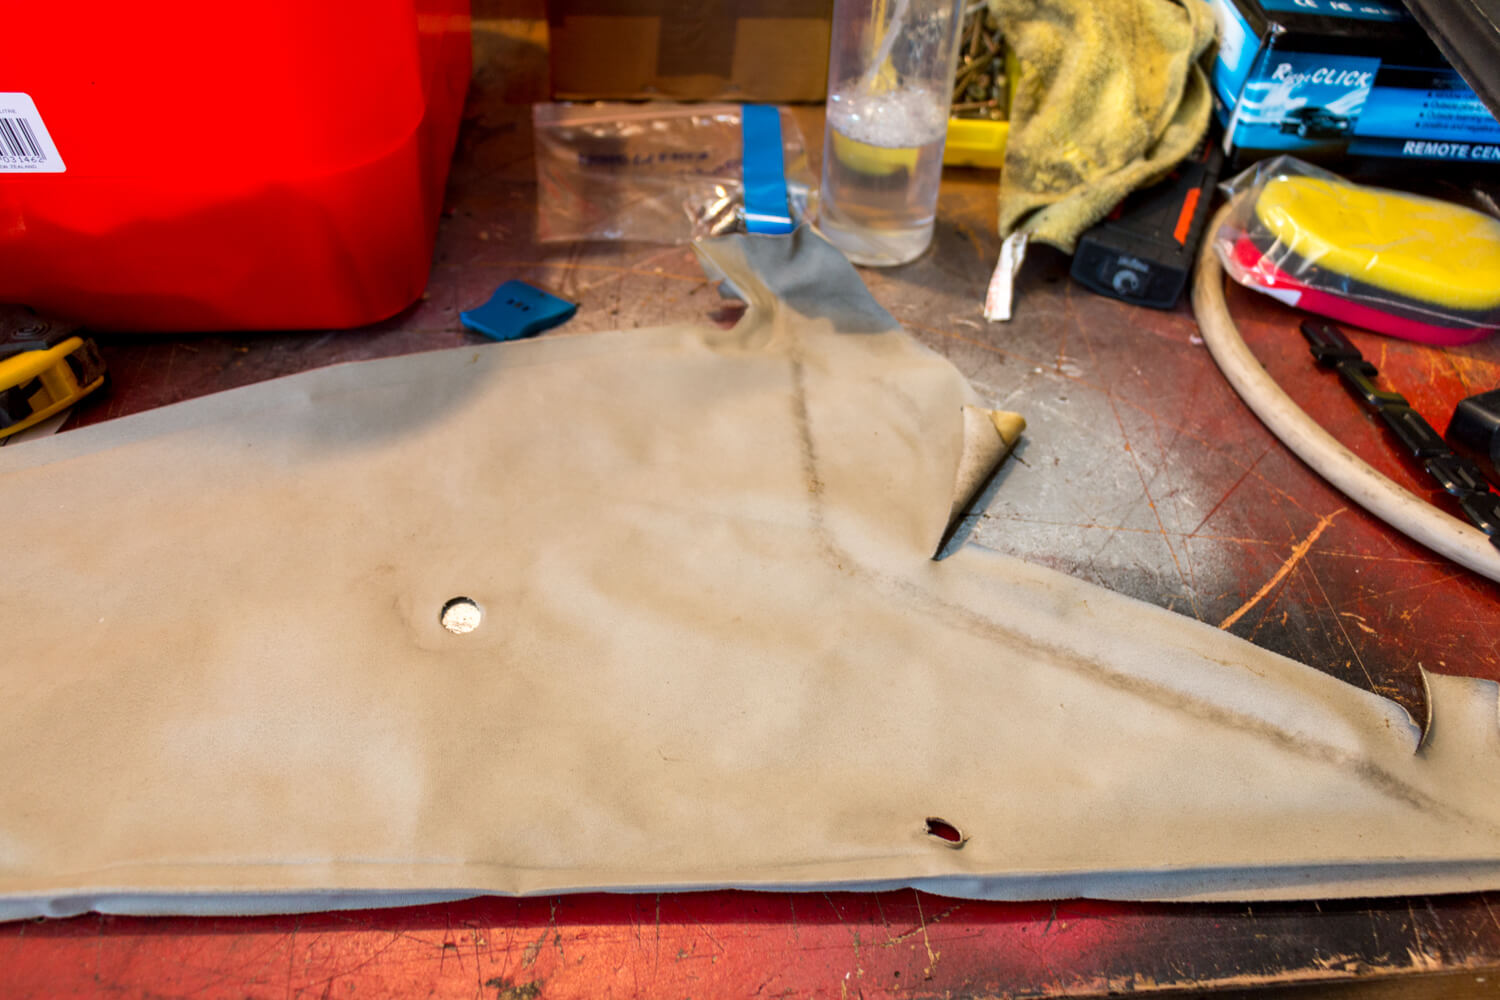
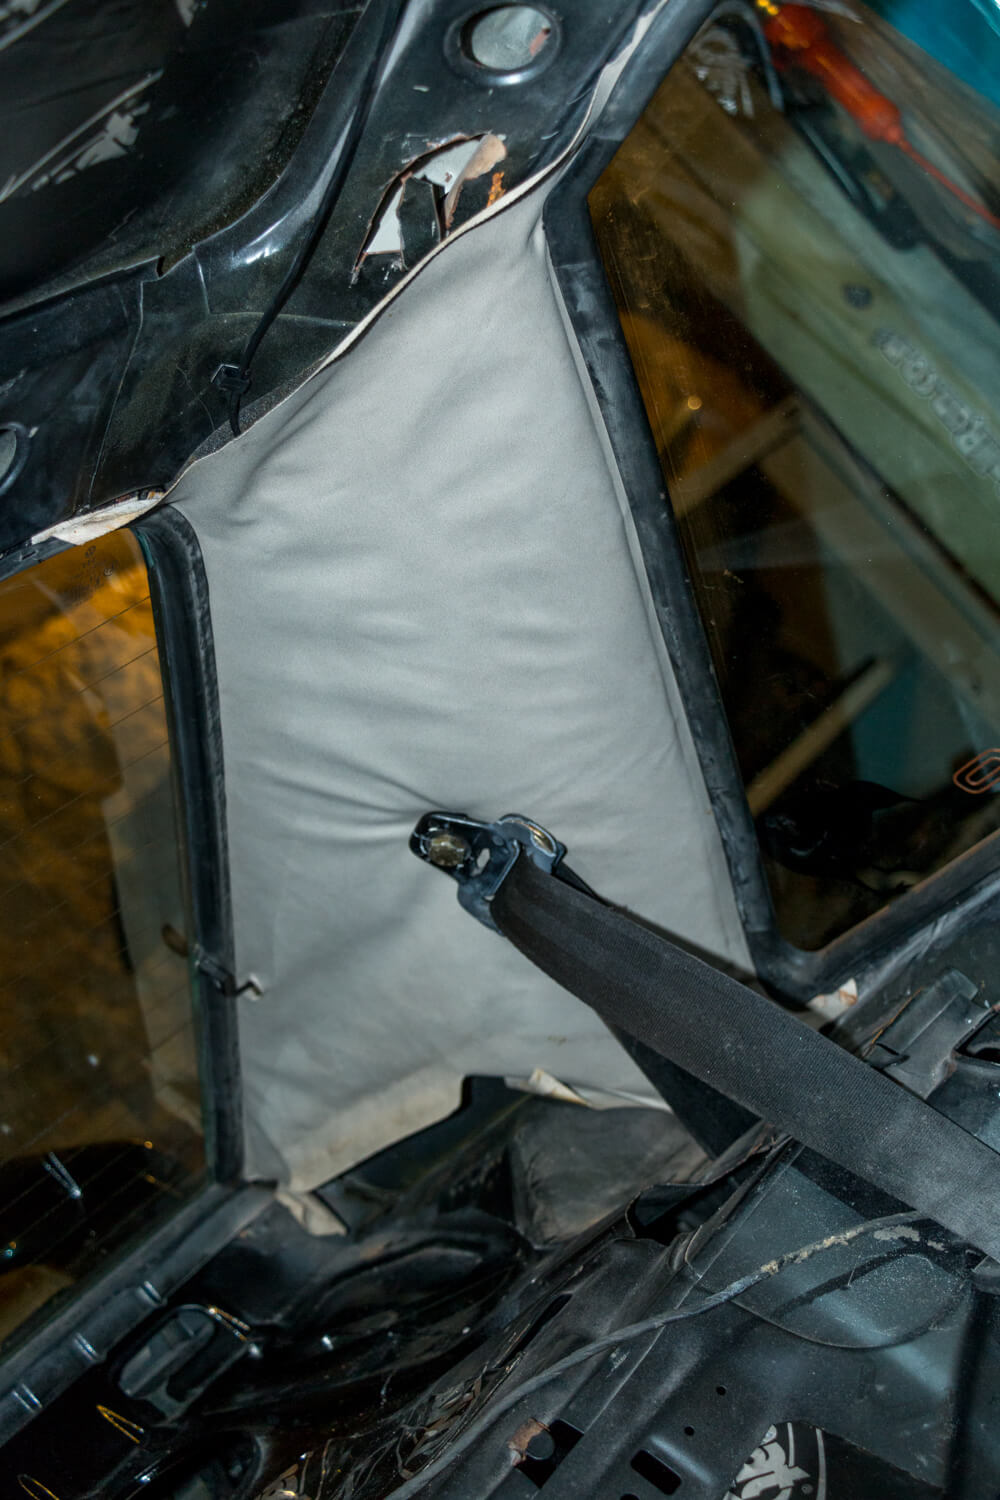
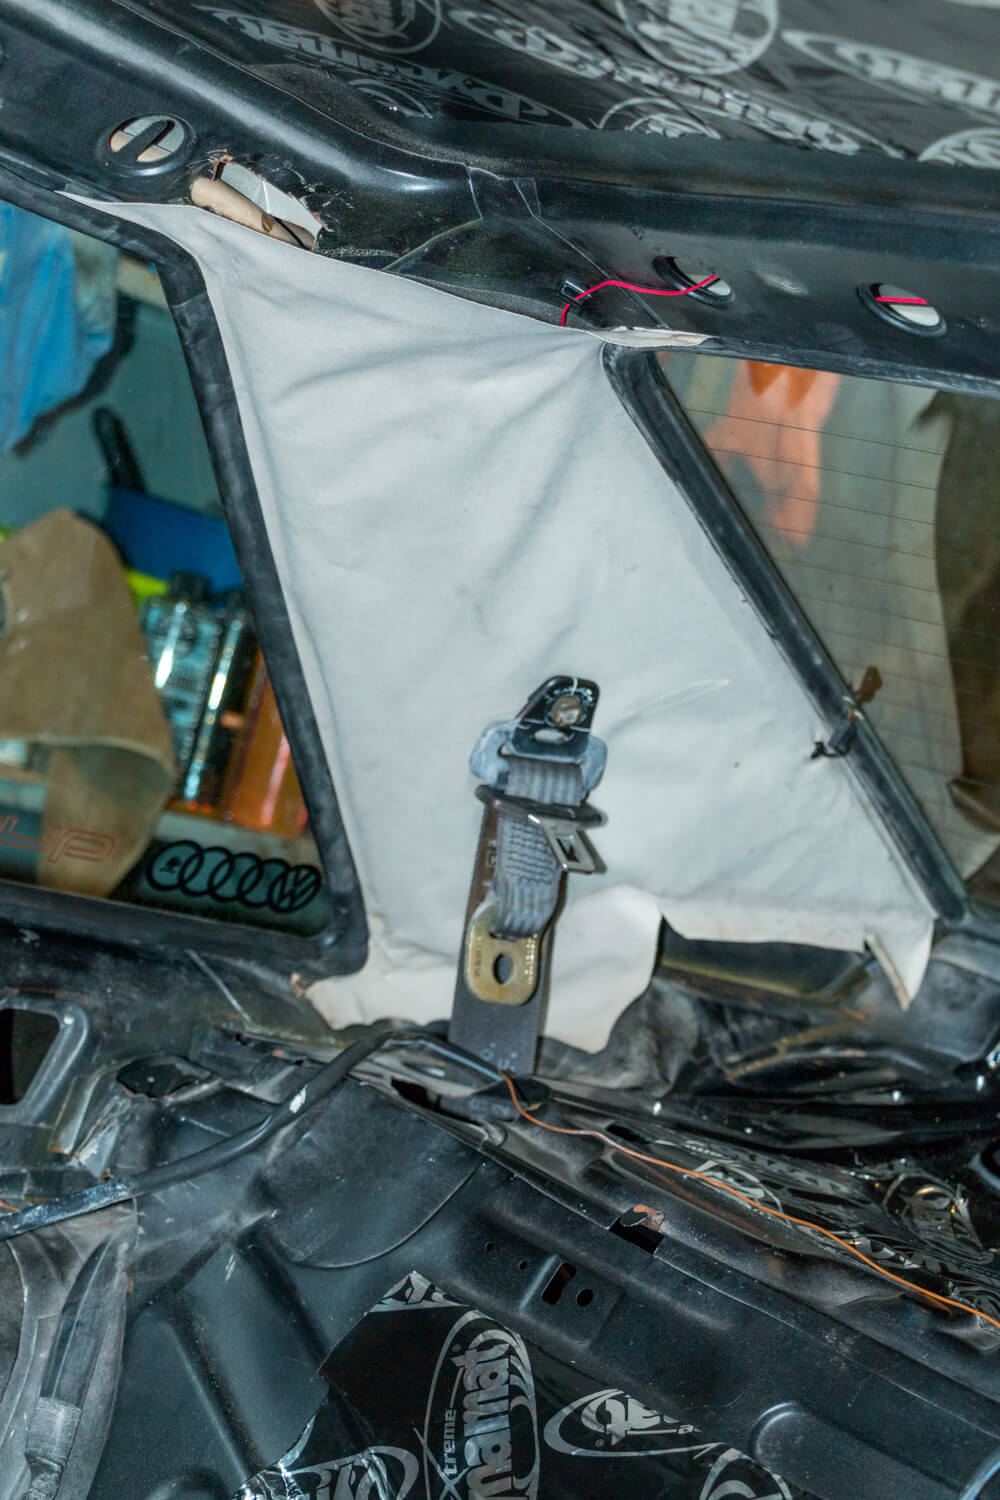
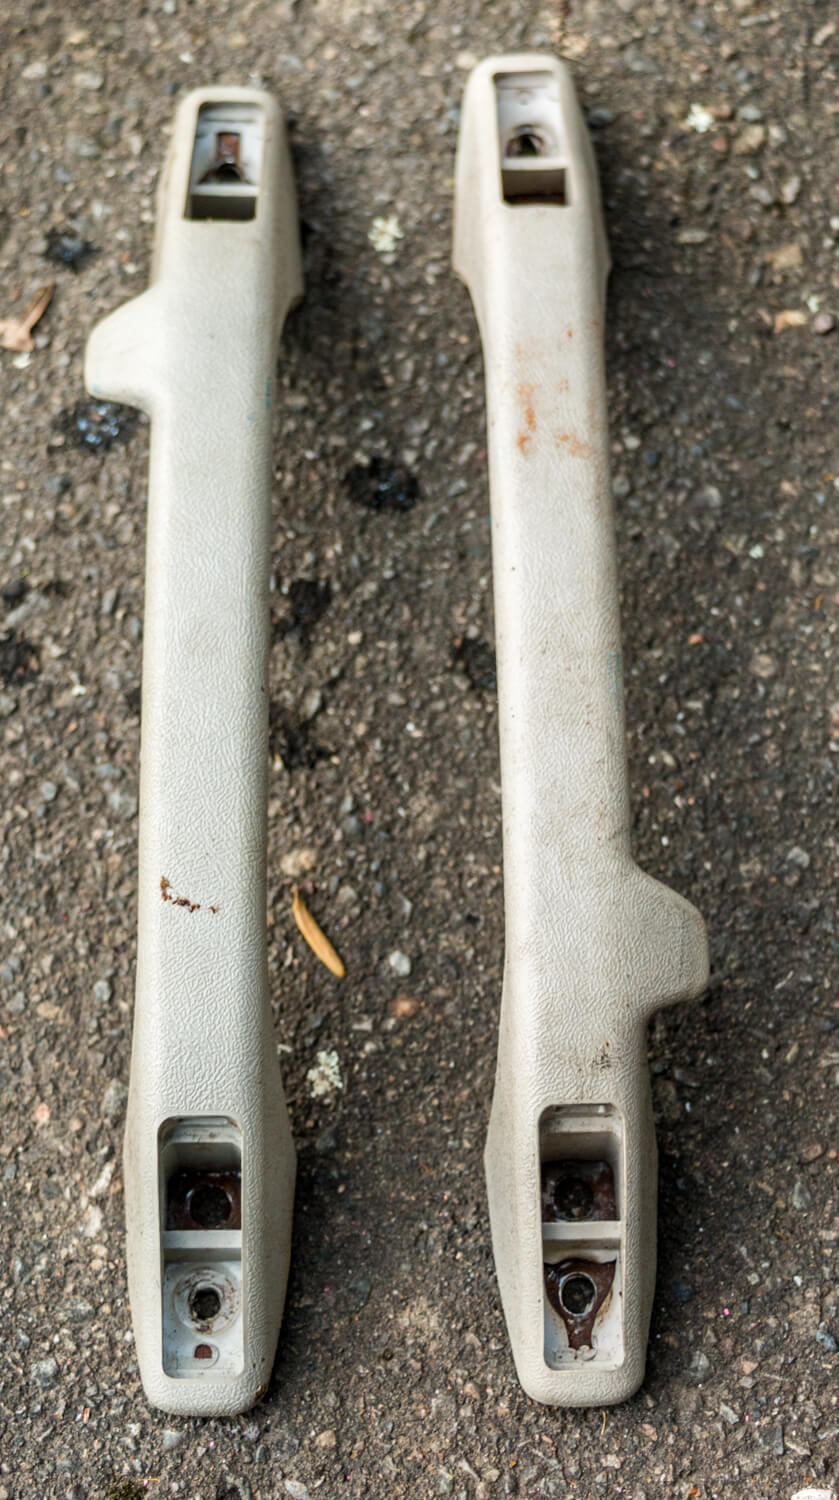
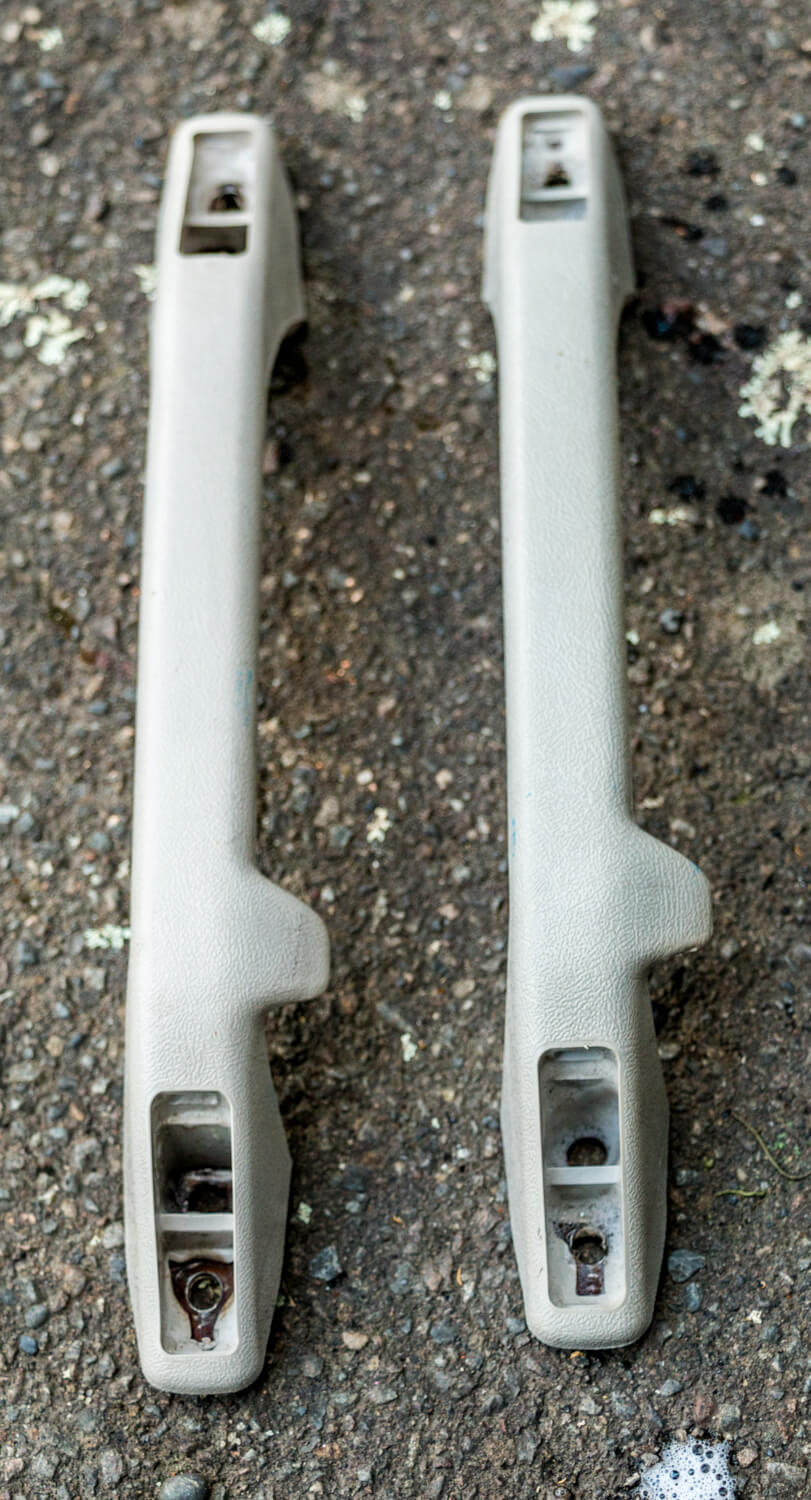
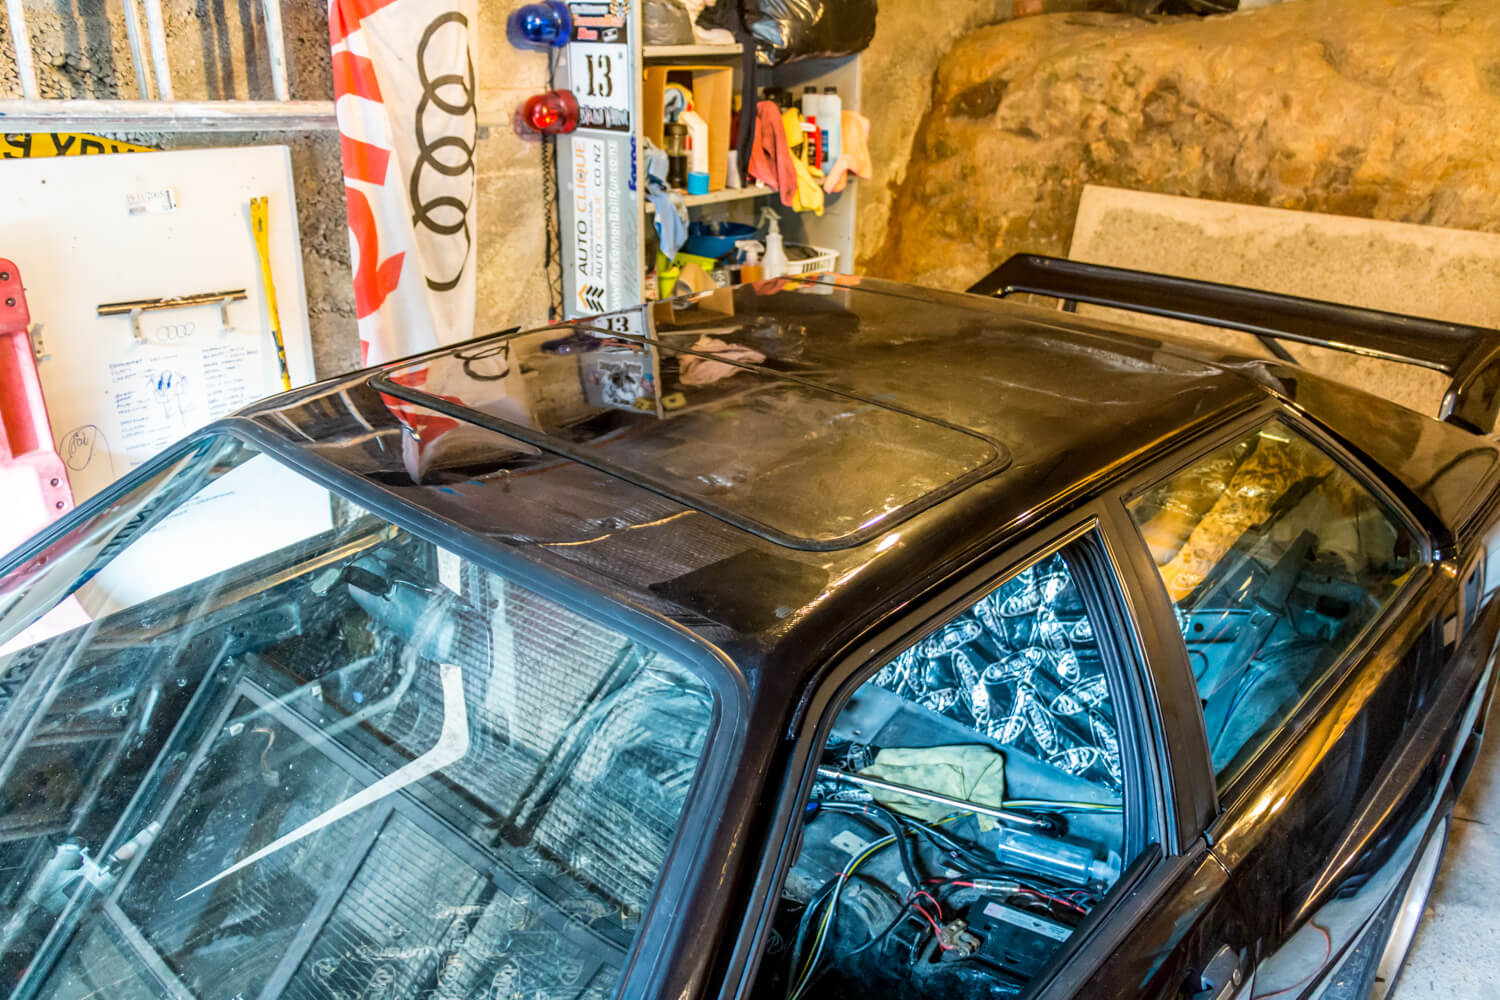
Next I decided to get the sunroof back in. First was the B and C pillar trims.
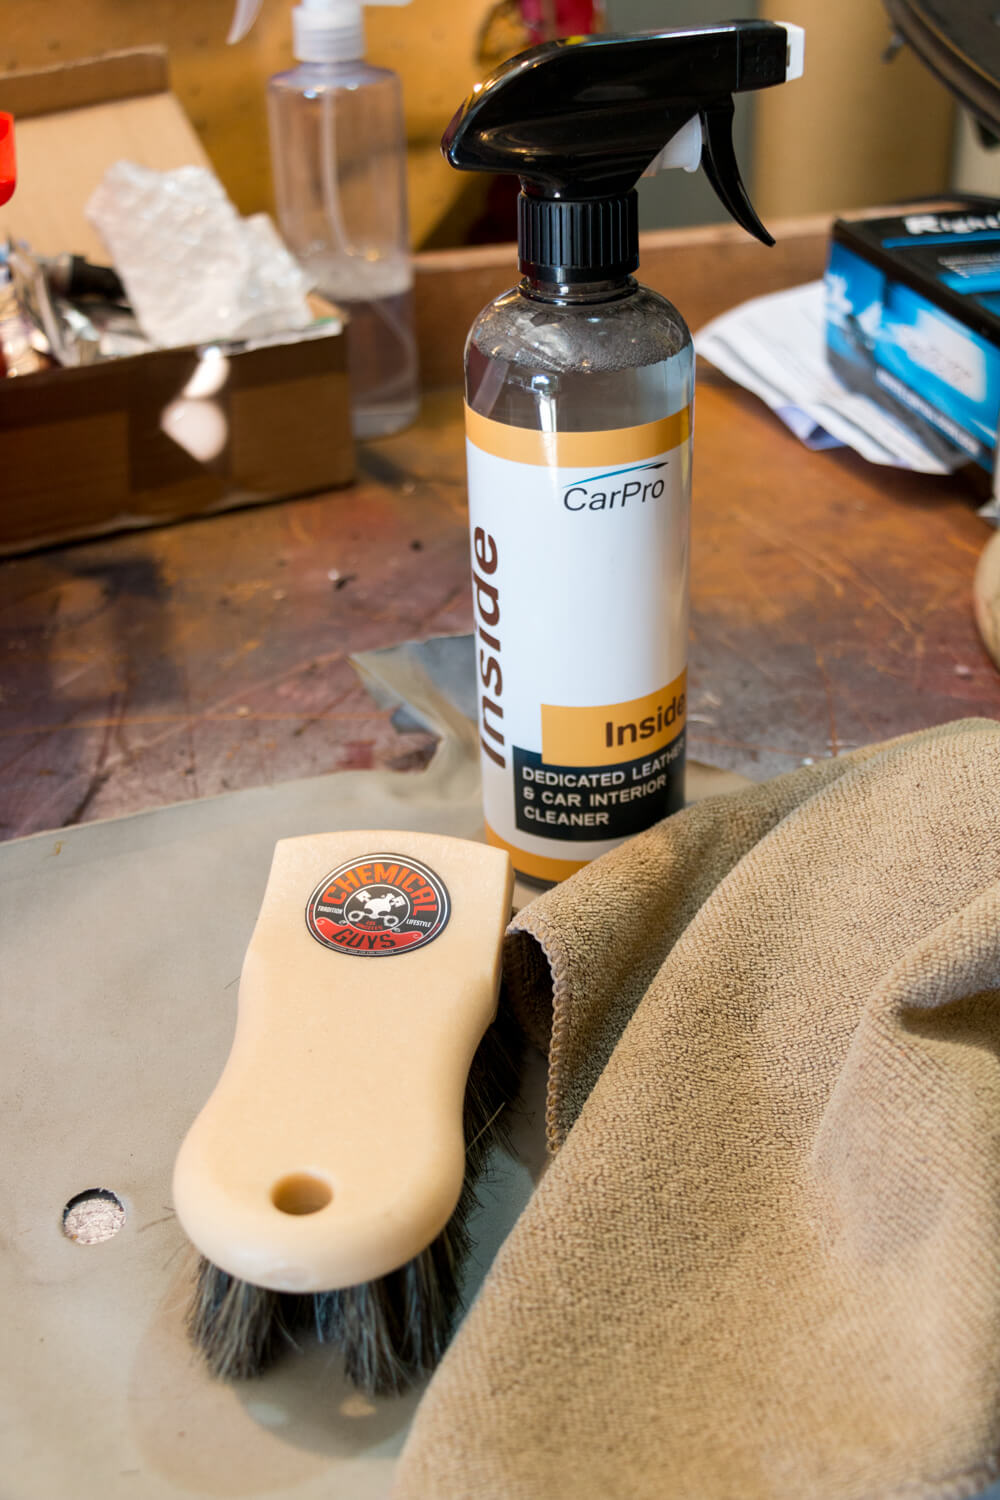
After a good scrub with CarPro Inside cleaner which was dropped off by John from our supporter Detail Depot, I spent quite a long time pushing the trims under the window rubbers. They’re usually fitted before the windows go in, so it was a bit of a mission, and they need more fettling to get right.
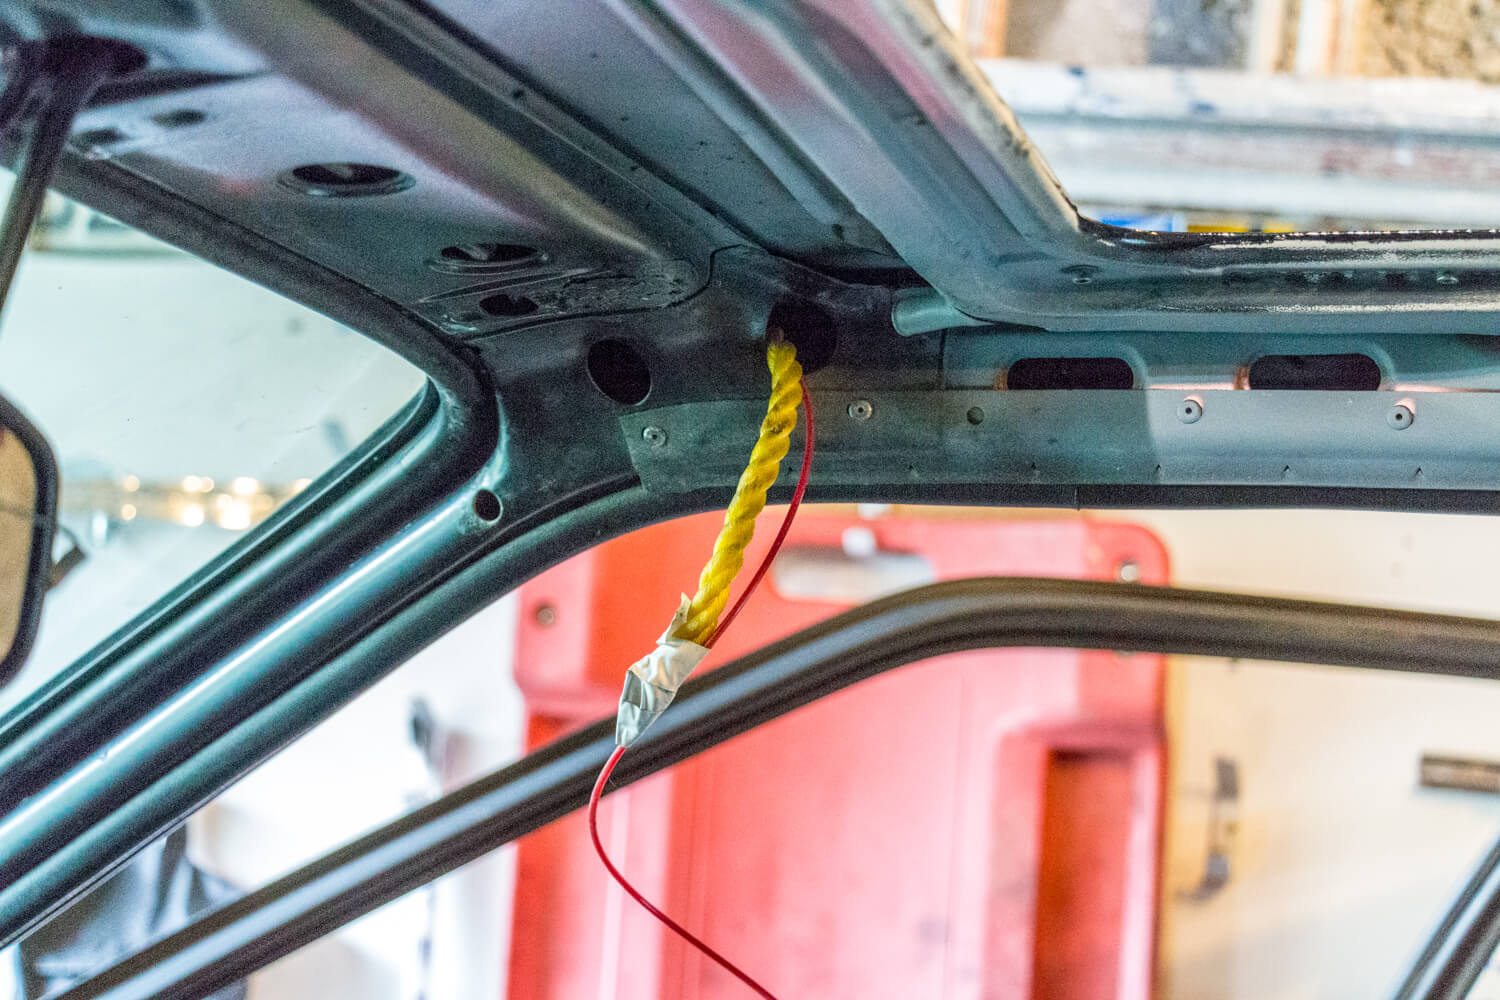
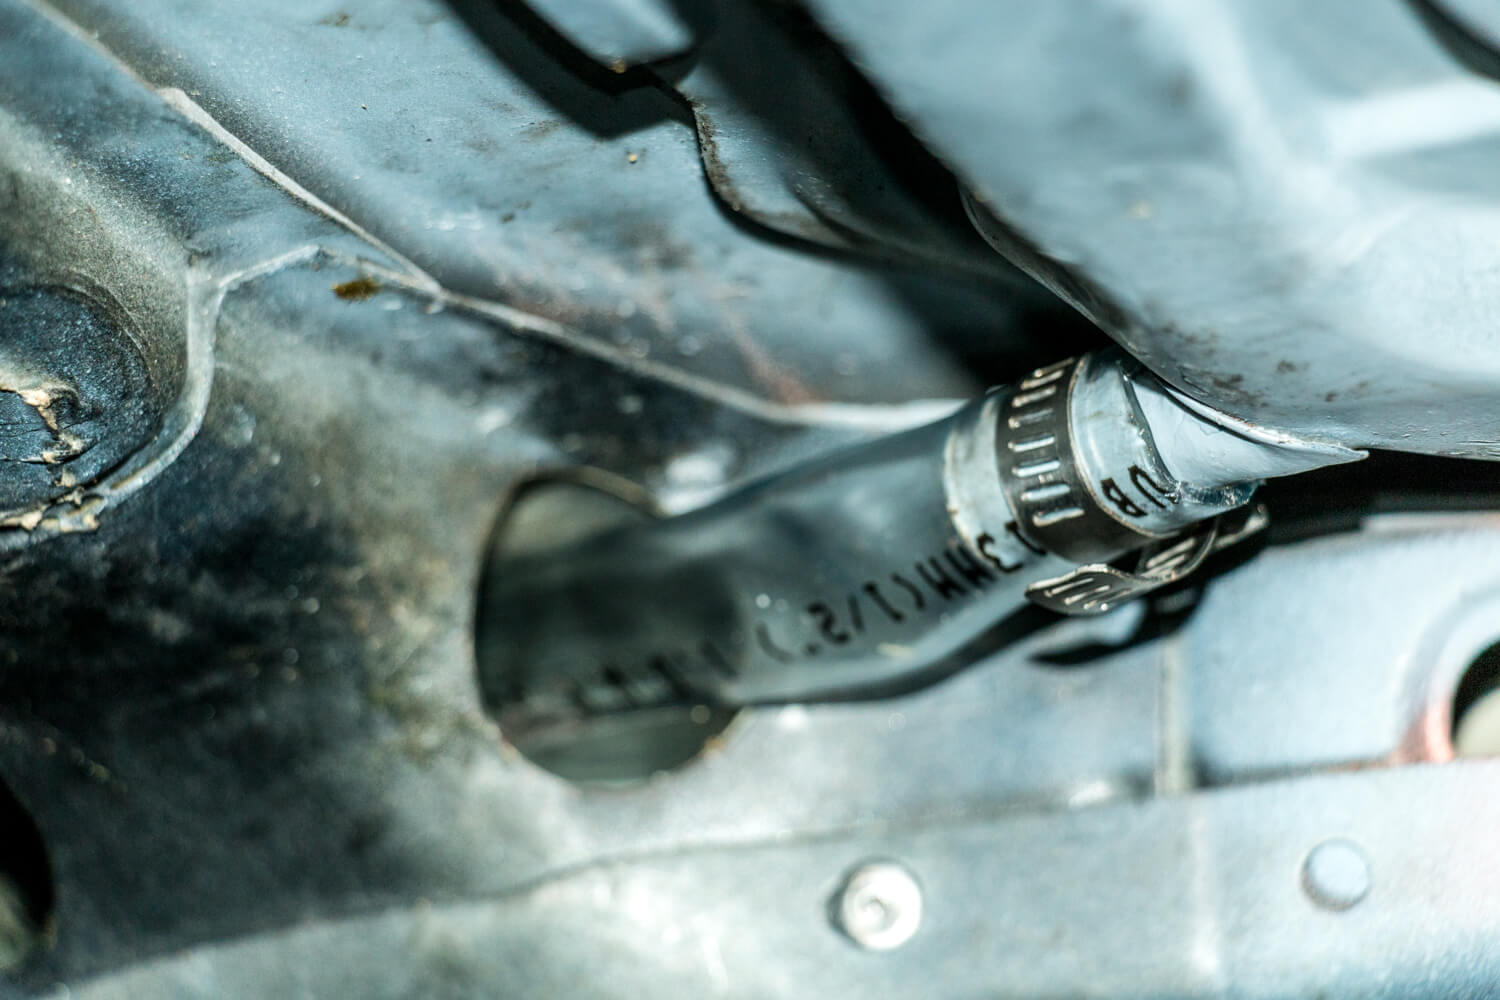
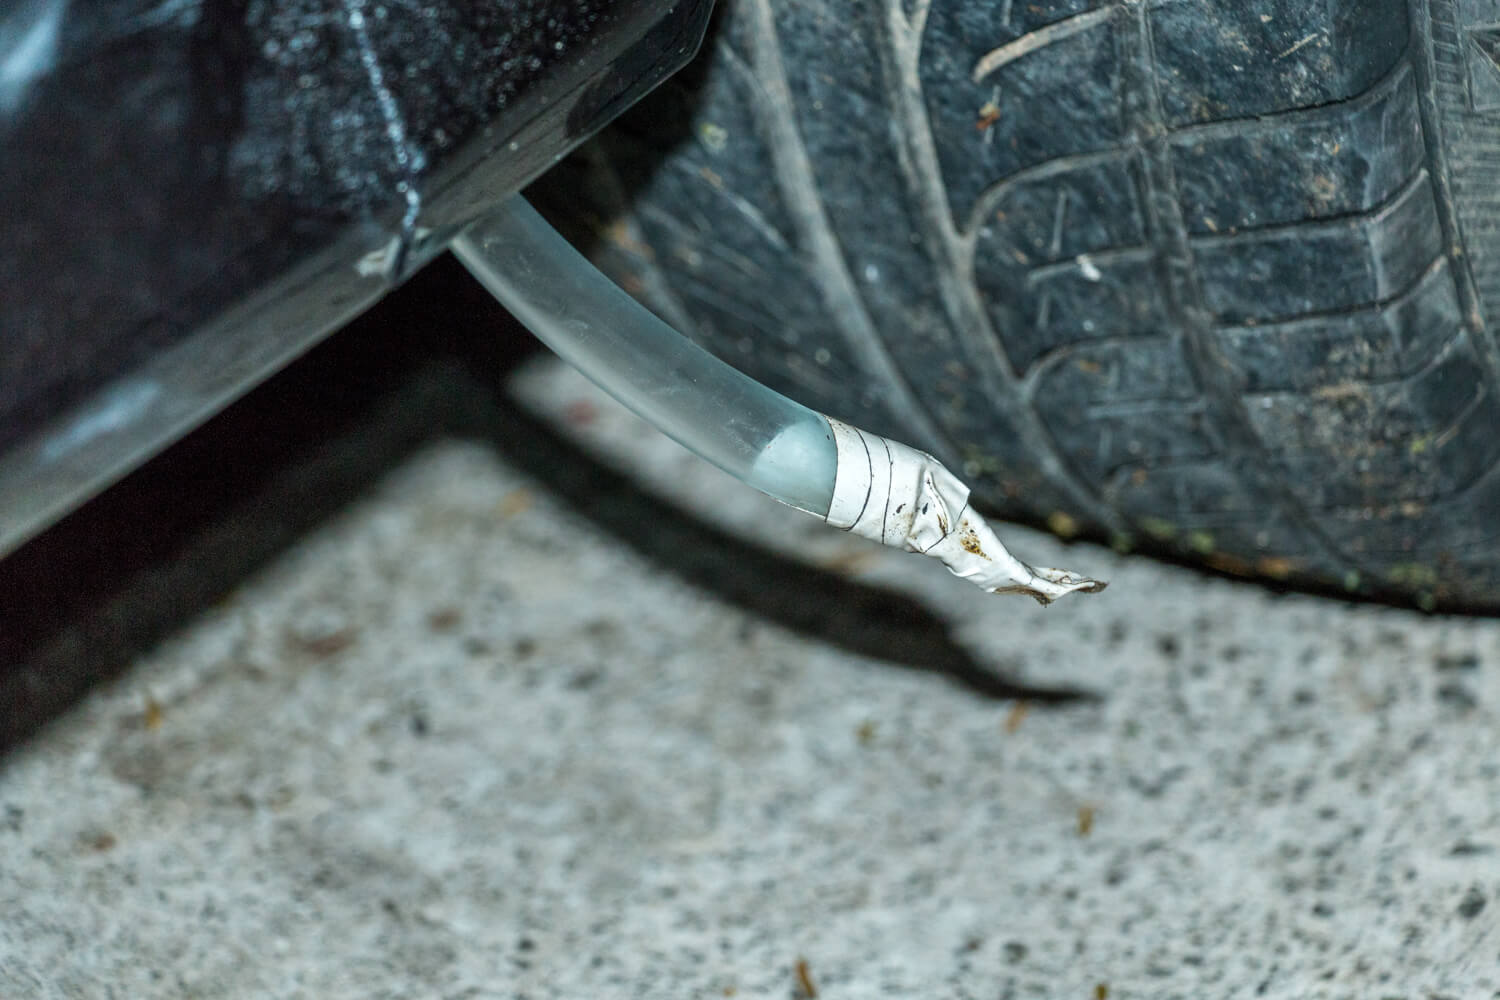
Next was the sunroof drain tubes. I got Just Rust to make new holes so that I could route new pipes from the roof right out of the bottom of the car. The factory ones drain through the metal and are just inviting more rust. The passenger side one was easy. I just pushed the original tube in then taped the new one to it, using it to pull the new one through.
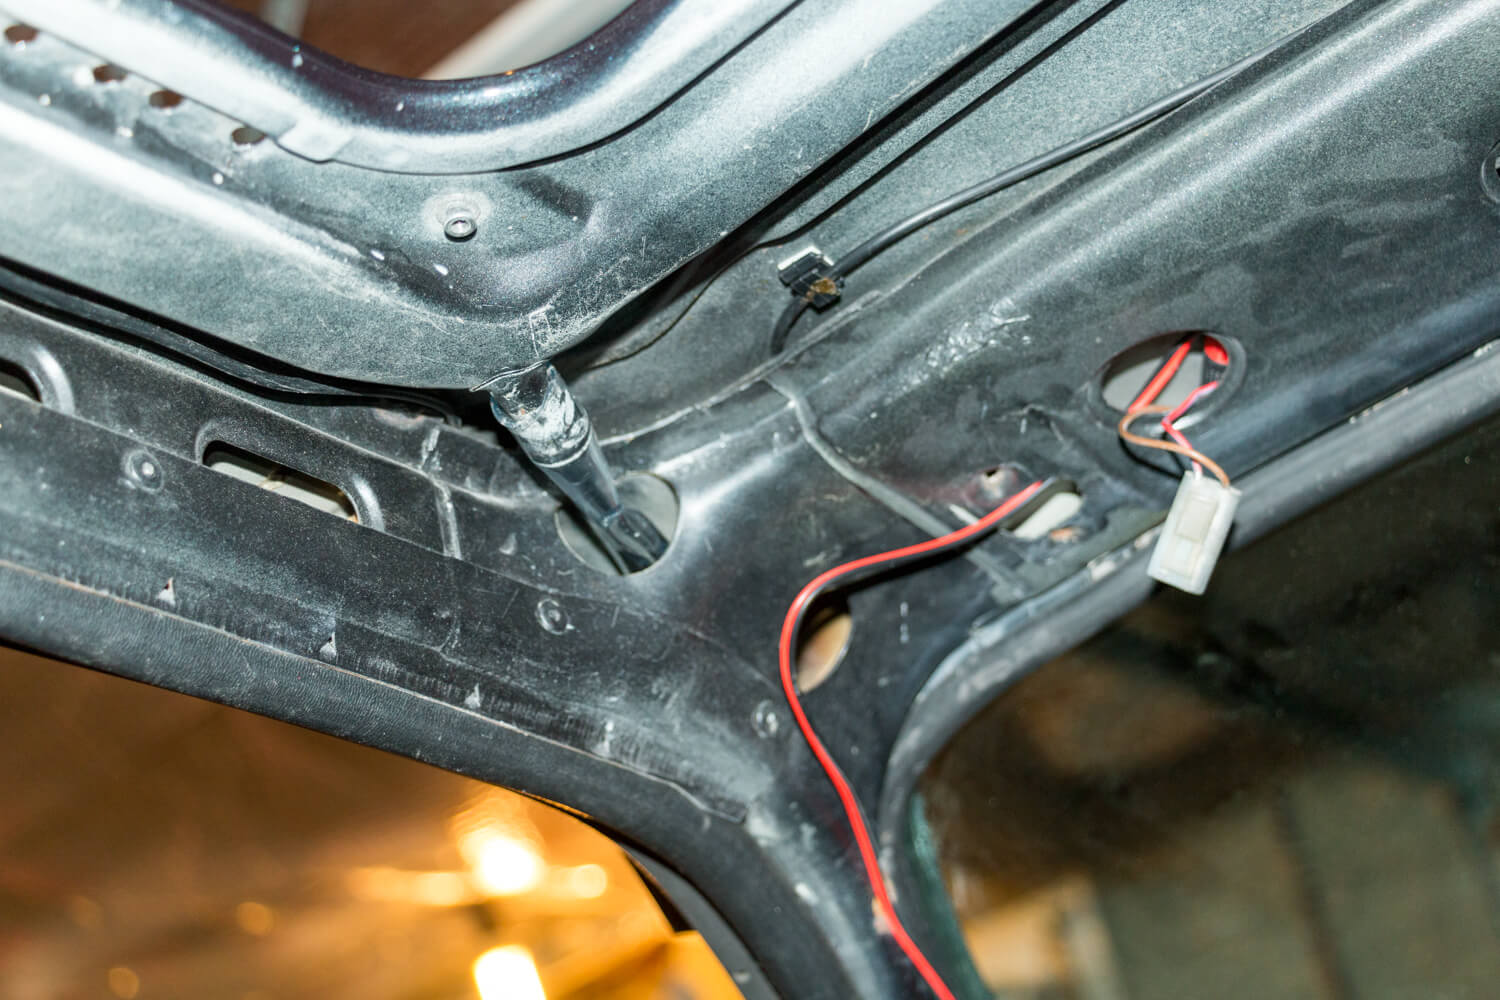
The driver’s side was an absolute sod to do. The pipe just wouldn’t go in so I had to use a wire coat hanger to pull a thin string through, which I was able to hook with a screwdriver. Then I used that to pull a rope through. Finally I taped the rope inside the tube and pulled it back.
It took quite a lot of tugging, and the rope finally came off the tube. I thought “Oh **** I’ll have to start all of that again!”. By this time it had taken over two hours. I had a bit of a rummage around and I could just grab the end of the pipe, and I managed to get it to pull through.
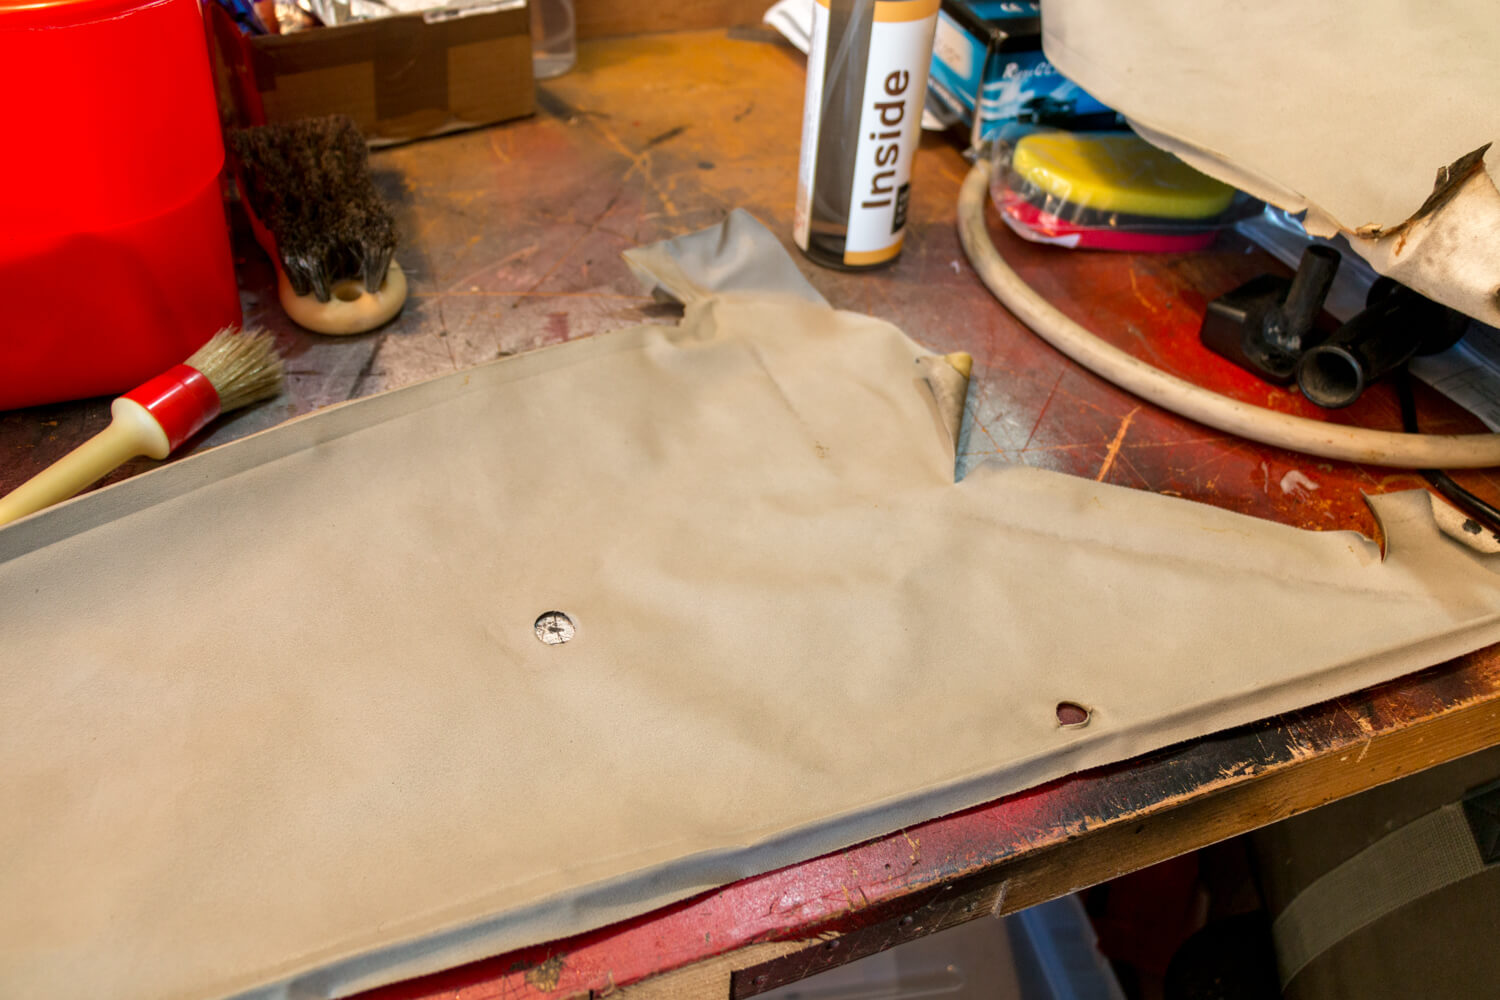
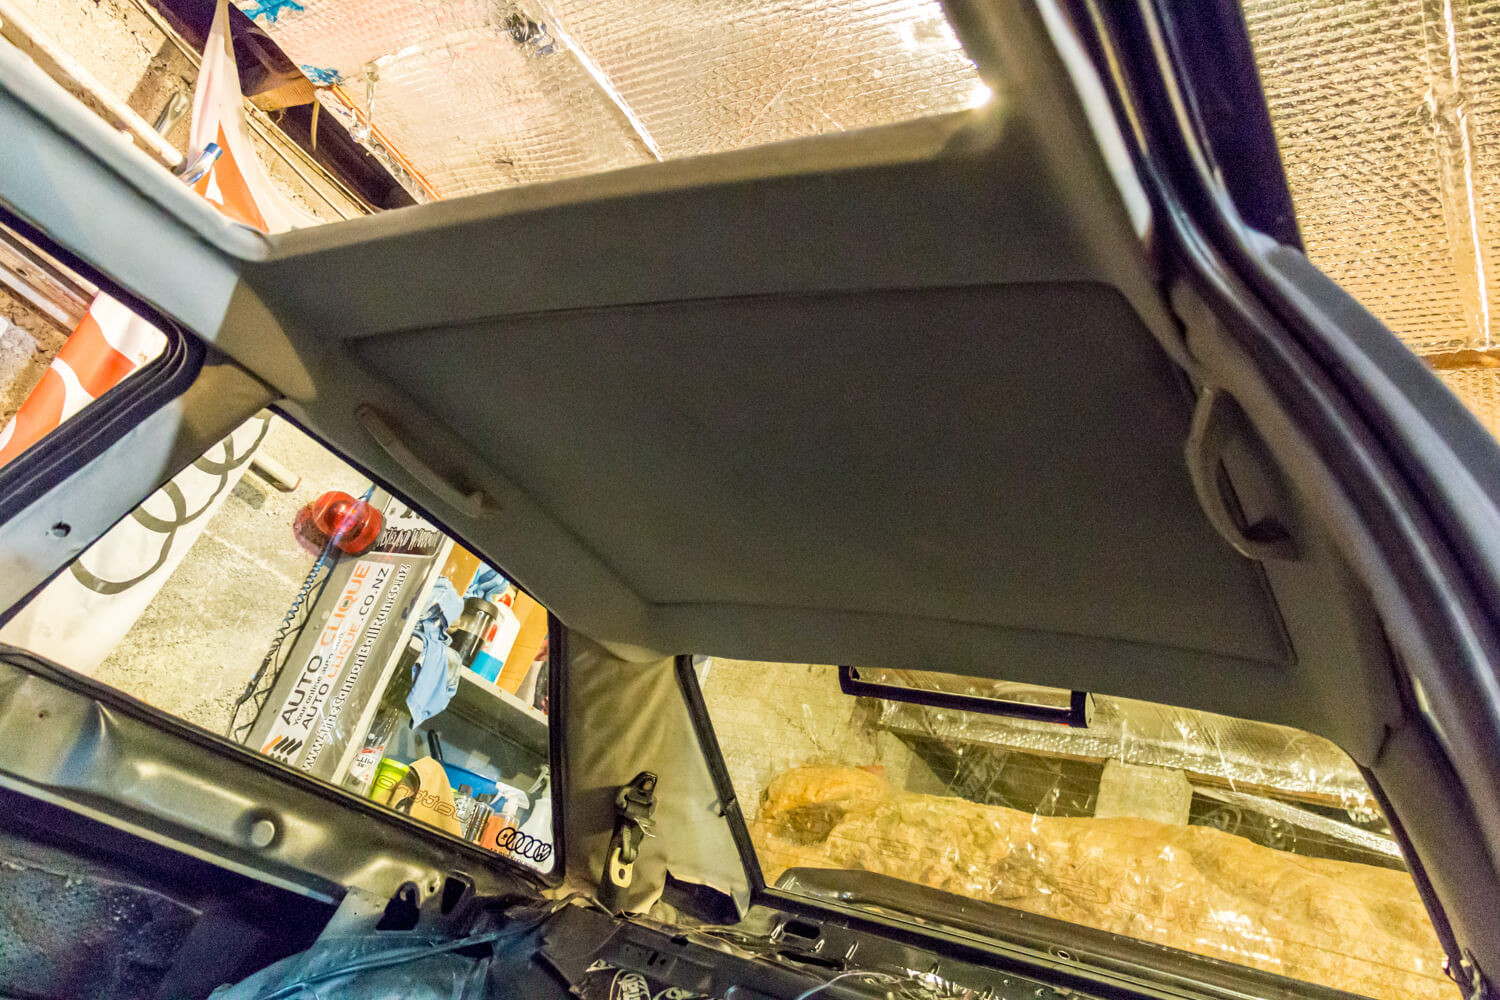
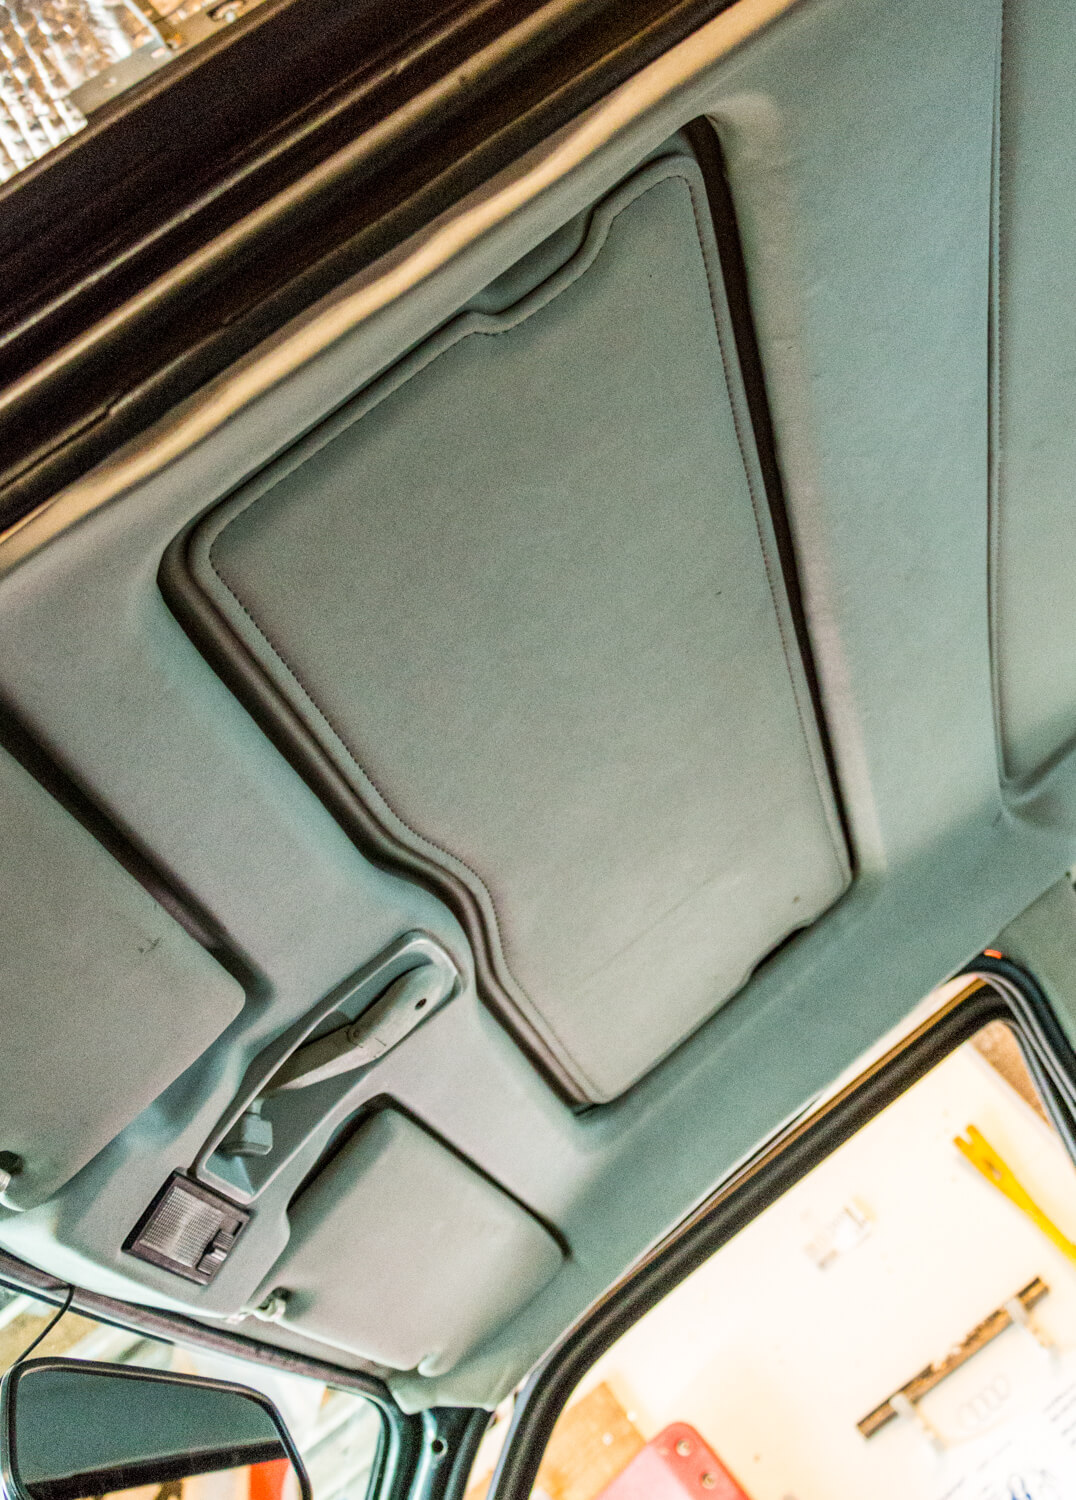
Next was a more exciting part – fitting the head liner. I broke out the CarPro Inside cleaner again. As you can see it came up really well.
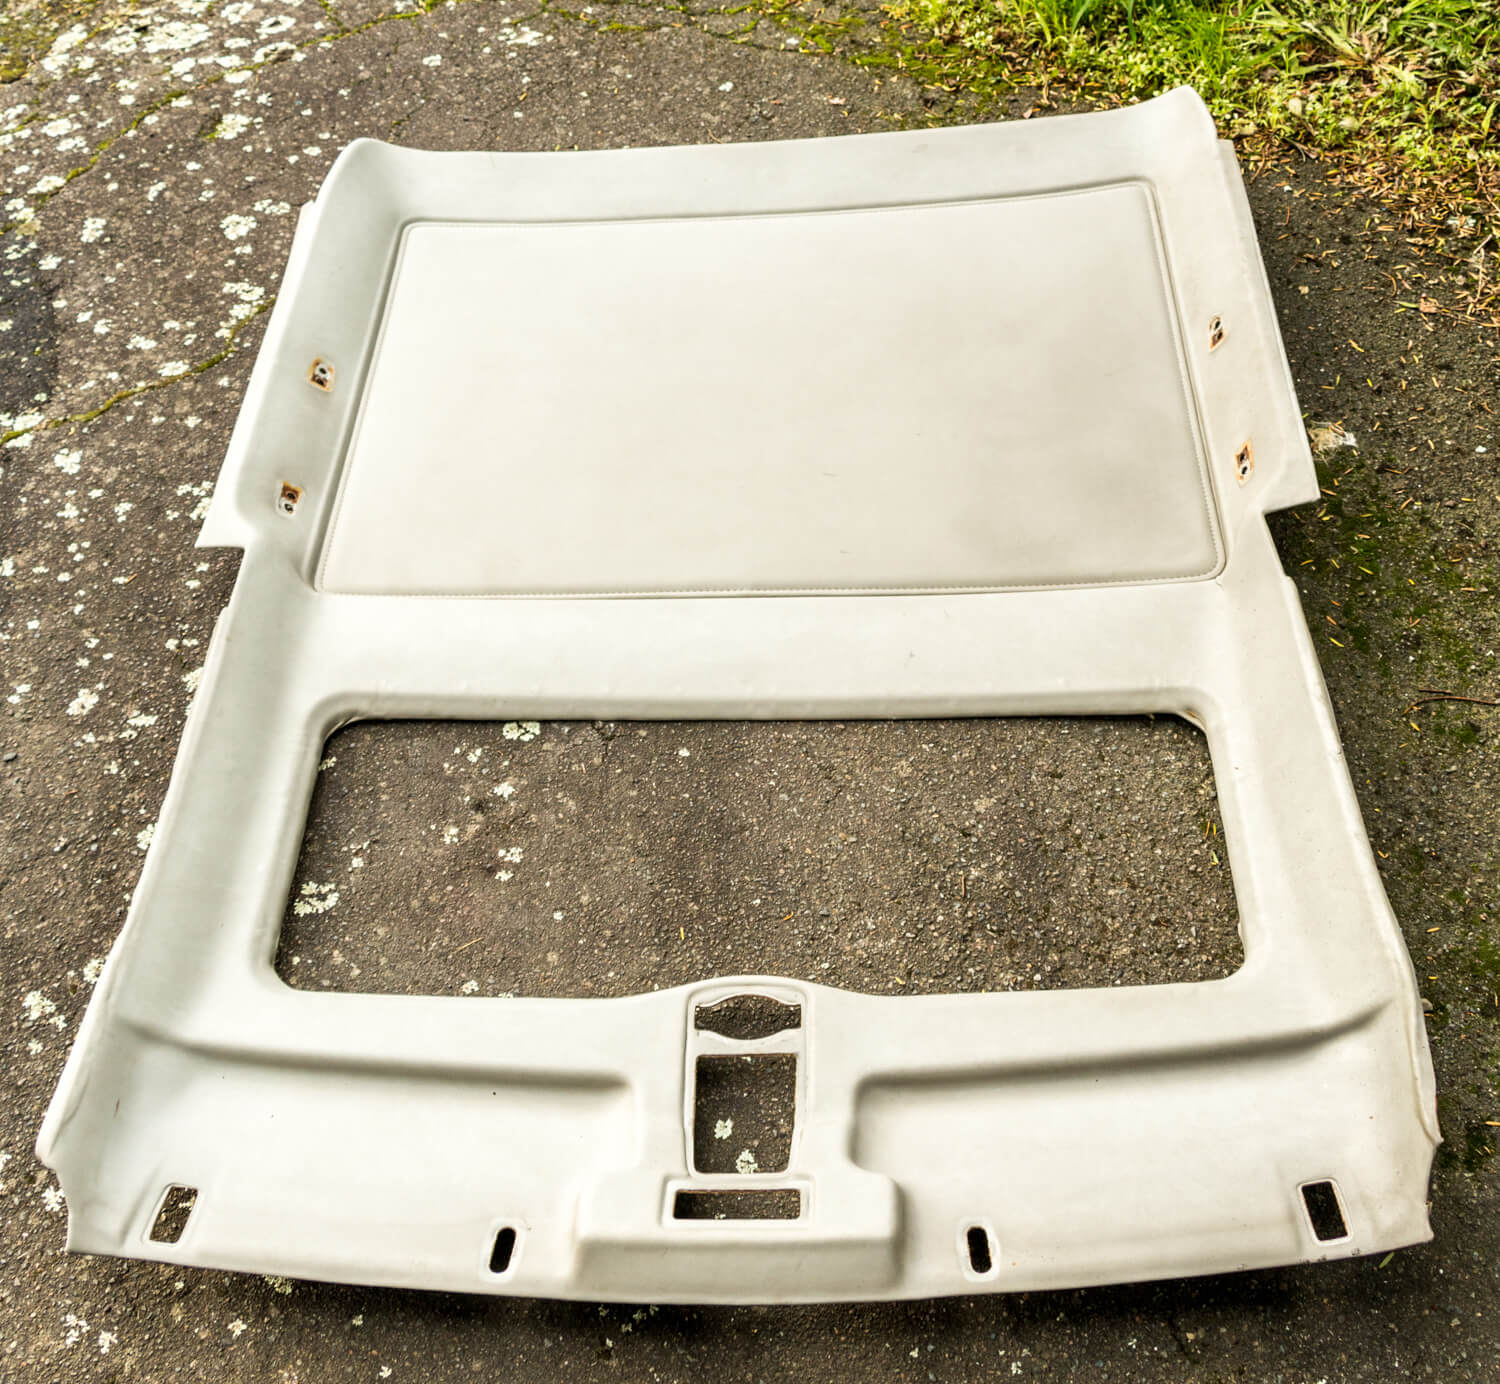
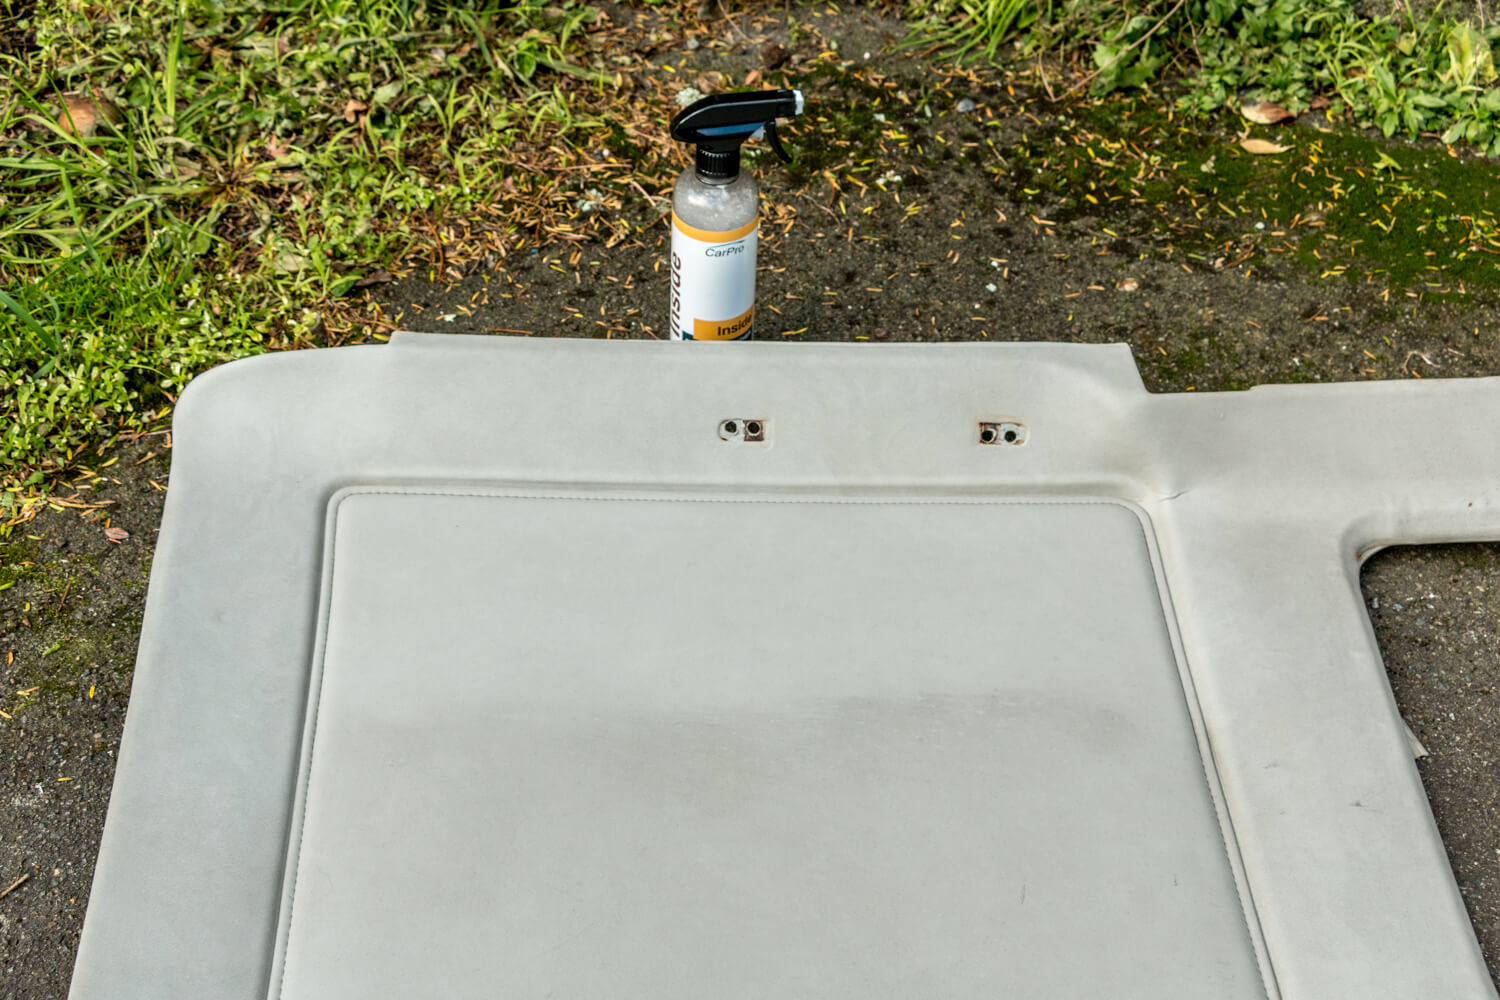
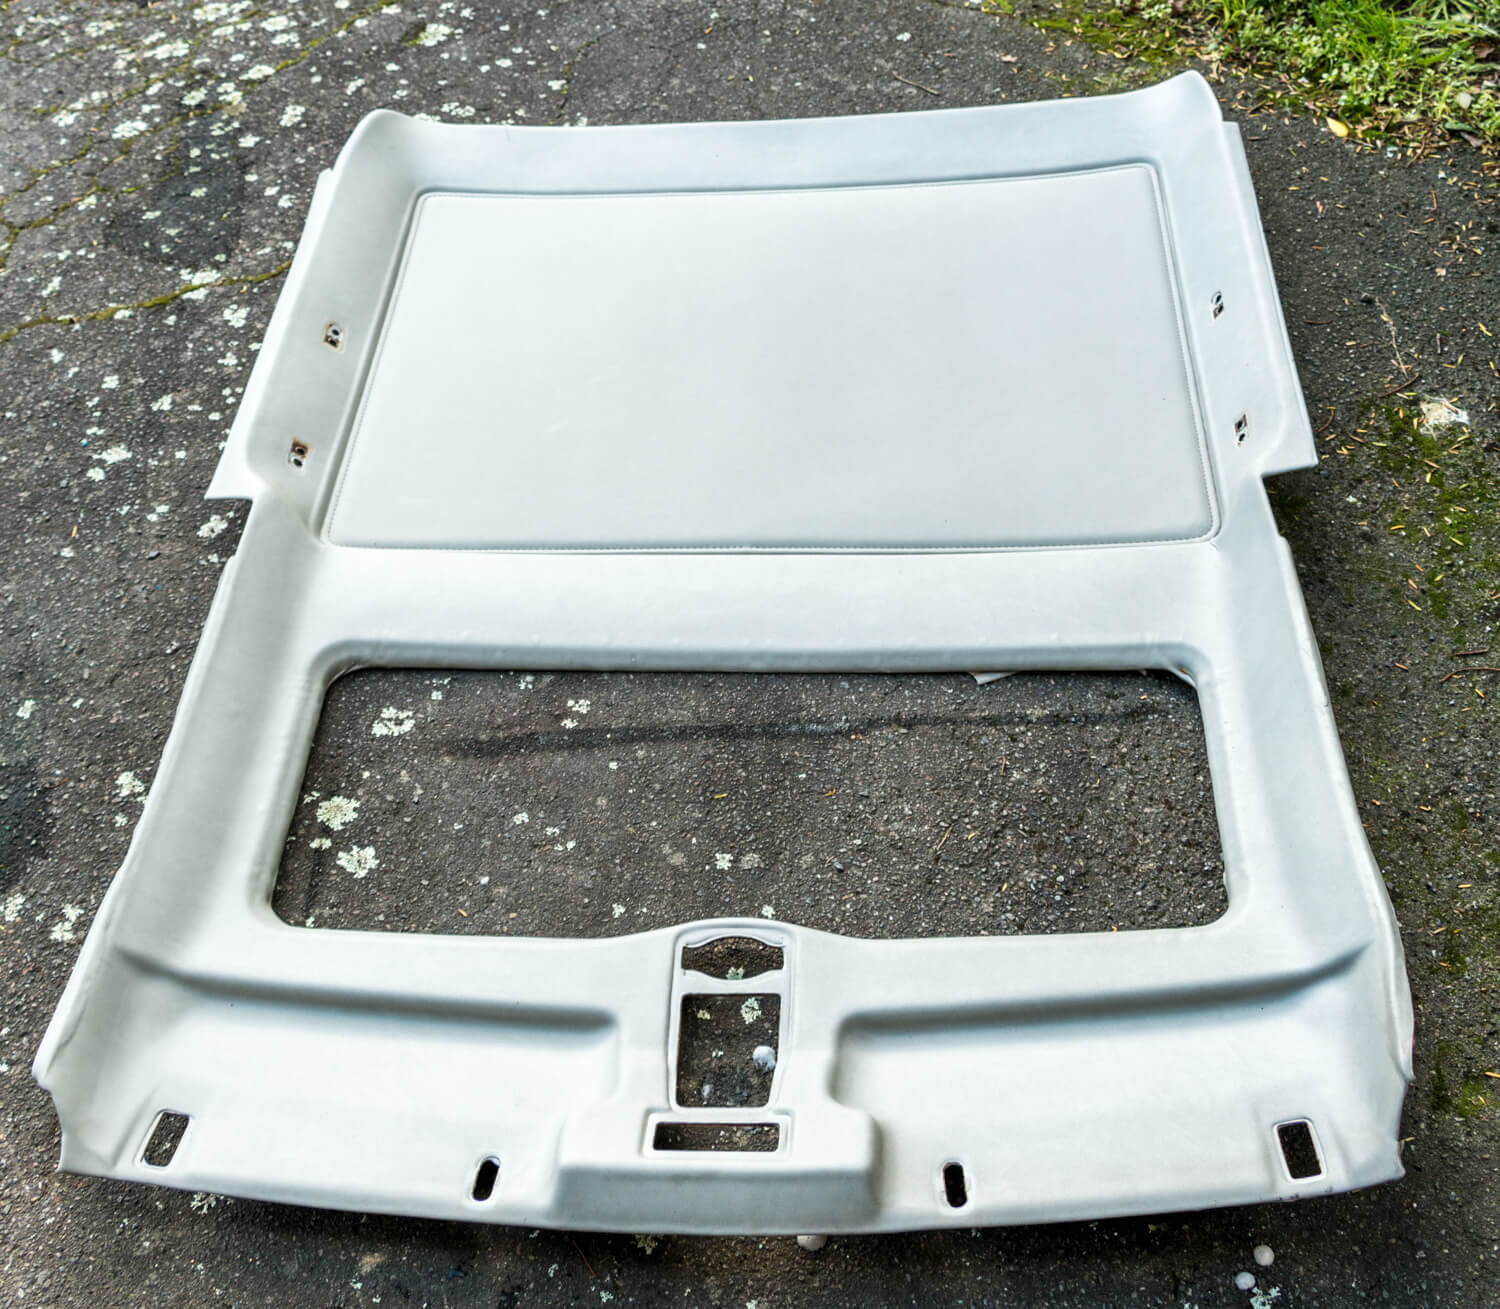
And finally it was in place!
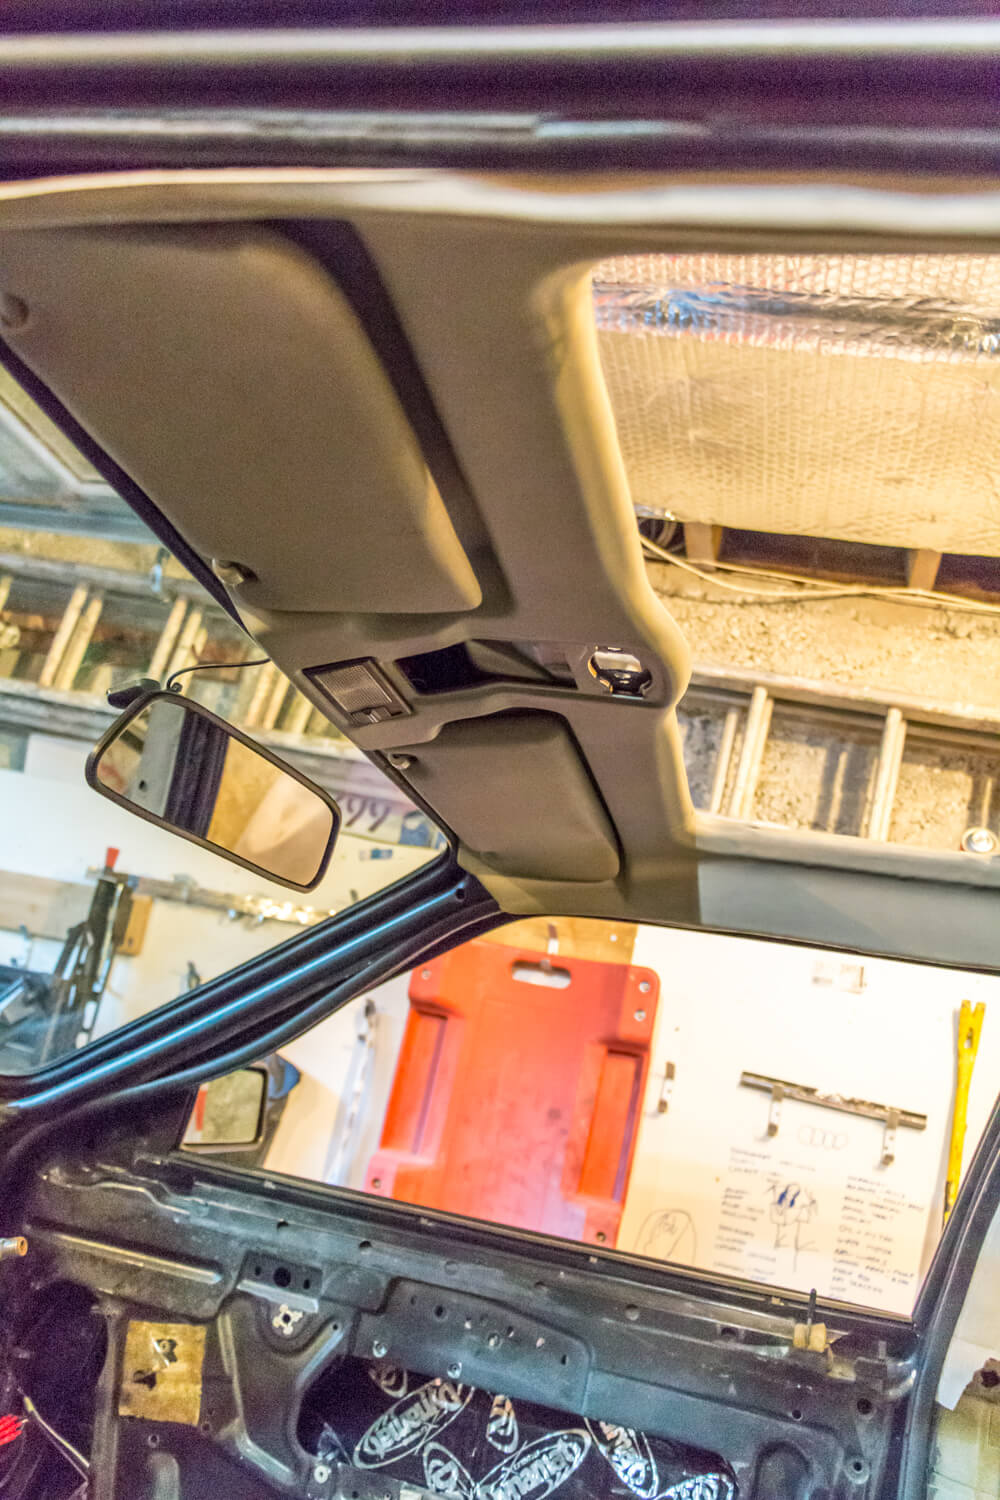
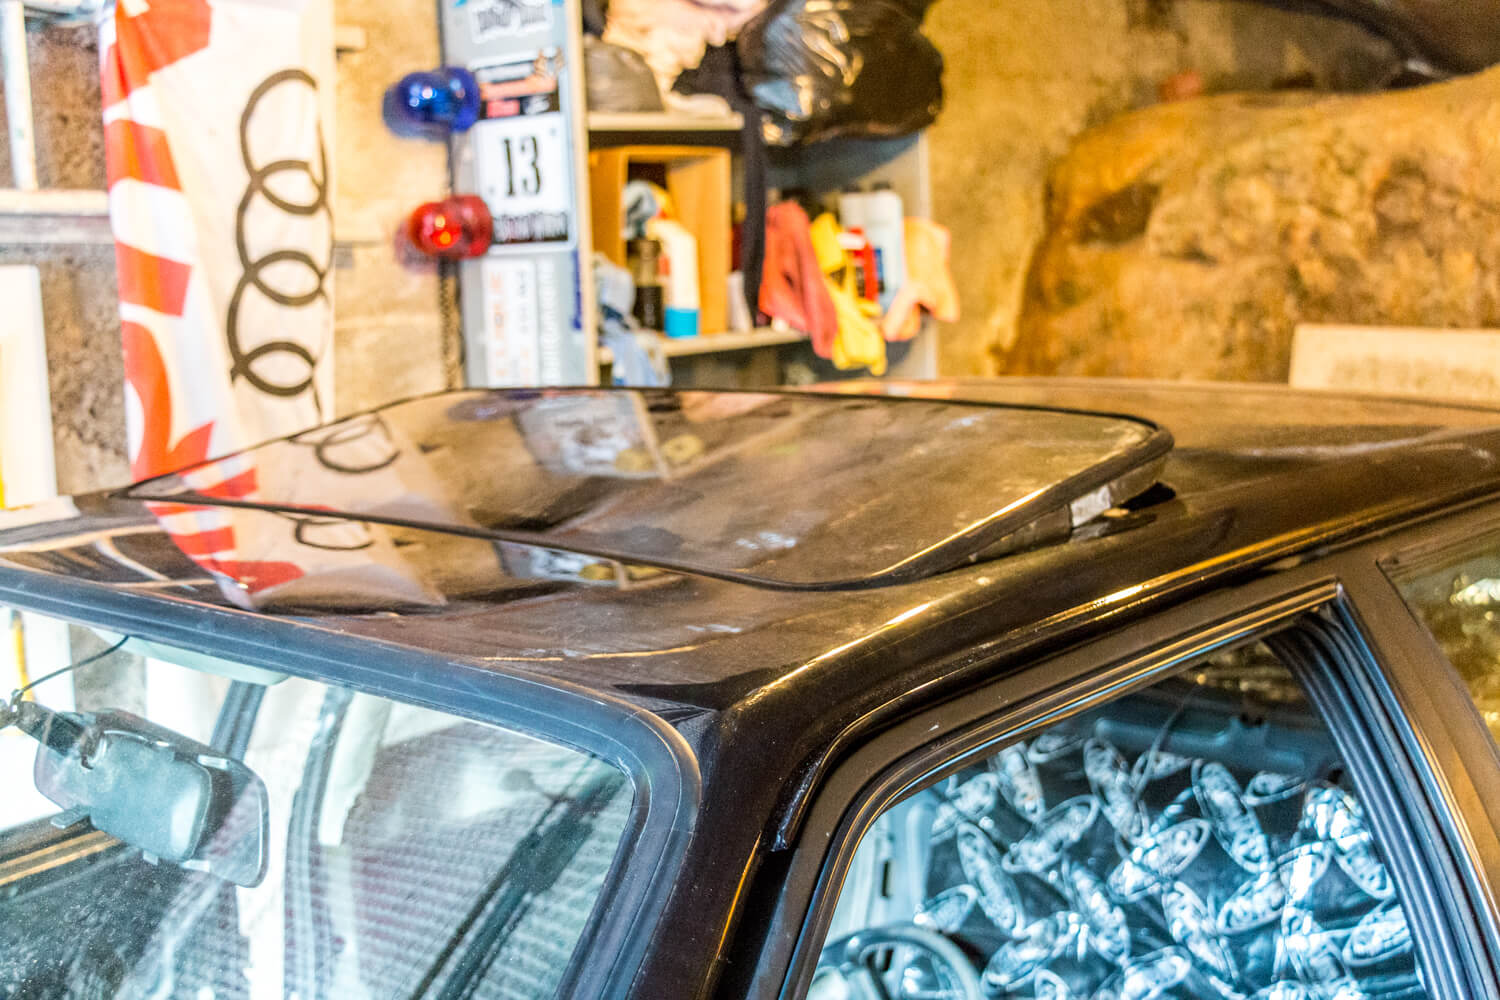
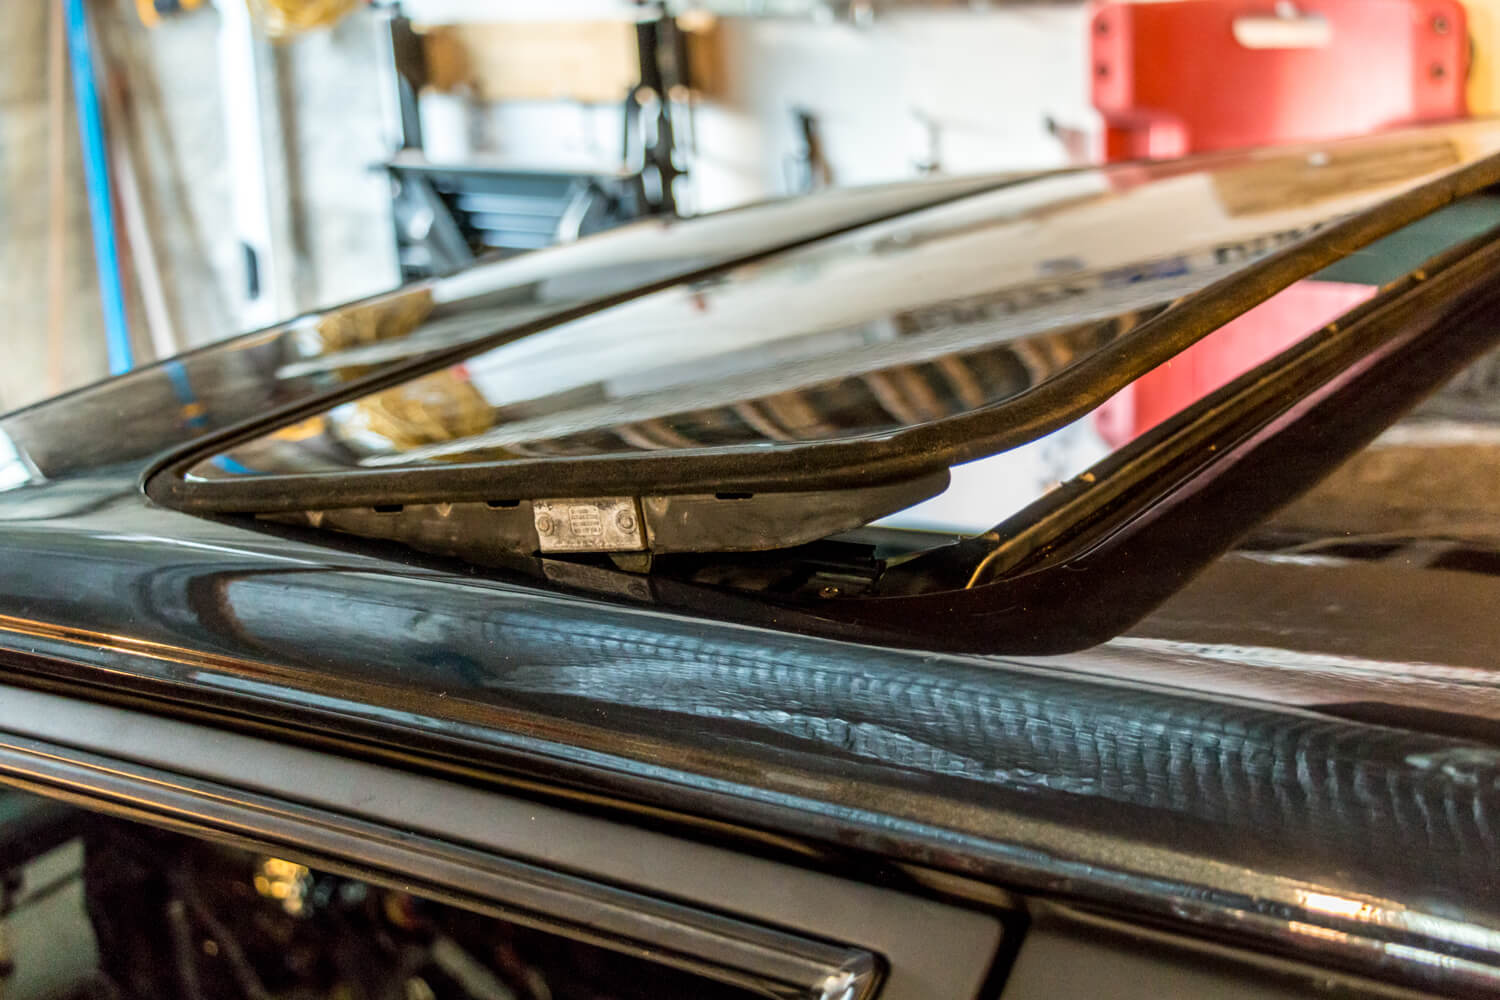
With this done I was able to re-fit the sunroof mechanism and install the sunroof.
So some decent progress. I’ve also taken the steering wheel off and fixed an issue with the steering lock sticking, and fitted a few more parts, like the electric aerial and the wiper motors.
The biggest challenge at the moment is keeping my cats out of the garage!
Follow the full Project Rusty build here.


